
NYC Street Photography: Light, Color & Portraits
A city portrait starts with noticing: a stripe of light, a strong color, a shape behind someone’s shoulder. Here is how those details work in photographs from my New York shoots.
A fence, a strip of sunlight, the shape of a bridge, a flash of red against concrete. In my New York portraits, those details do more than fill the background: they change how a photograph feels.
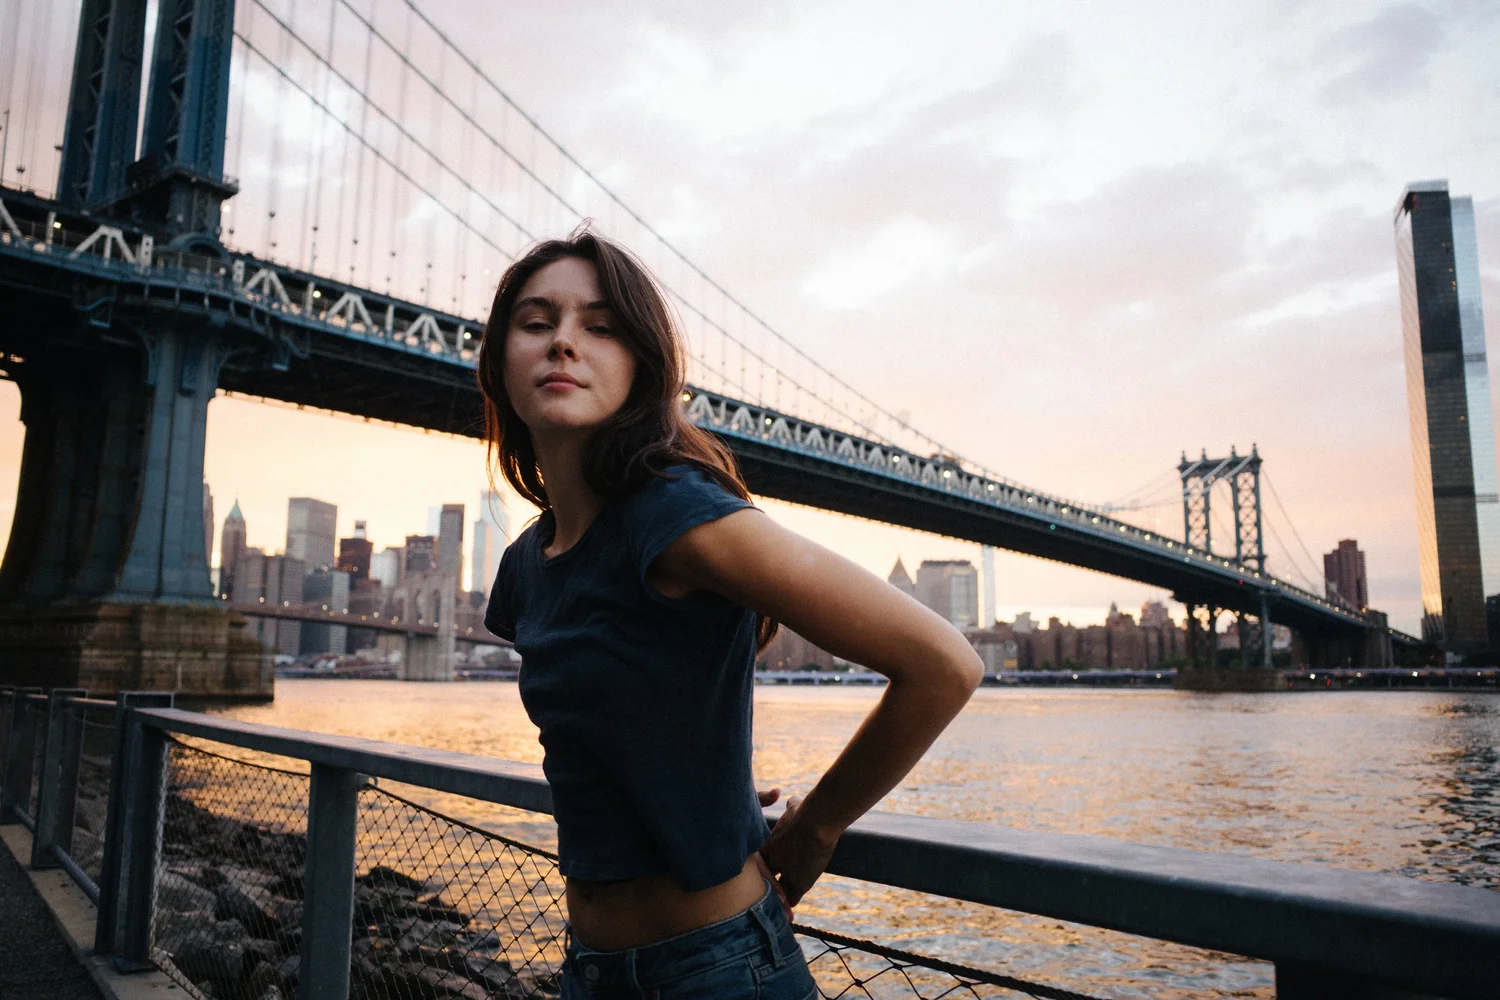
This is a guide to NYC street photography through my portrait work, built around photographs from four shoots: Amanda, Johnny, Tara, and Hannahbeth. Every image below is mine. Look through them for ideas about photographing people in the city, or for the kind of atmosphere you would like in your own session.
Street photography and the collaborative portrait
Street photography often follows unplanned moments in public life. A street portrait involves someone knowingly participating. These photographs come from collaborative outdoor portrait shoots, including waterfronts and rooftops. They show how observation, framing, and timing can shape a portrait in a real city setting.
The distinction matters when you look at the pictures. A rooftop gives us a different kind of space from a busy sidewalk. A person working with the camera can hold a gesture or try another position. You can still take the visual lessons—notice the light, simplify the frame, watch how a person relates to their surroundings—into your own street photography.
Let the real city into the frame
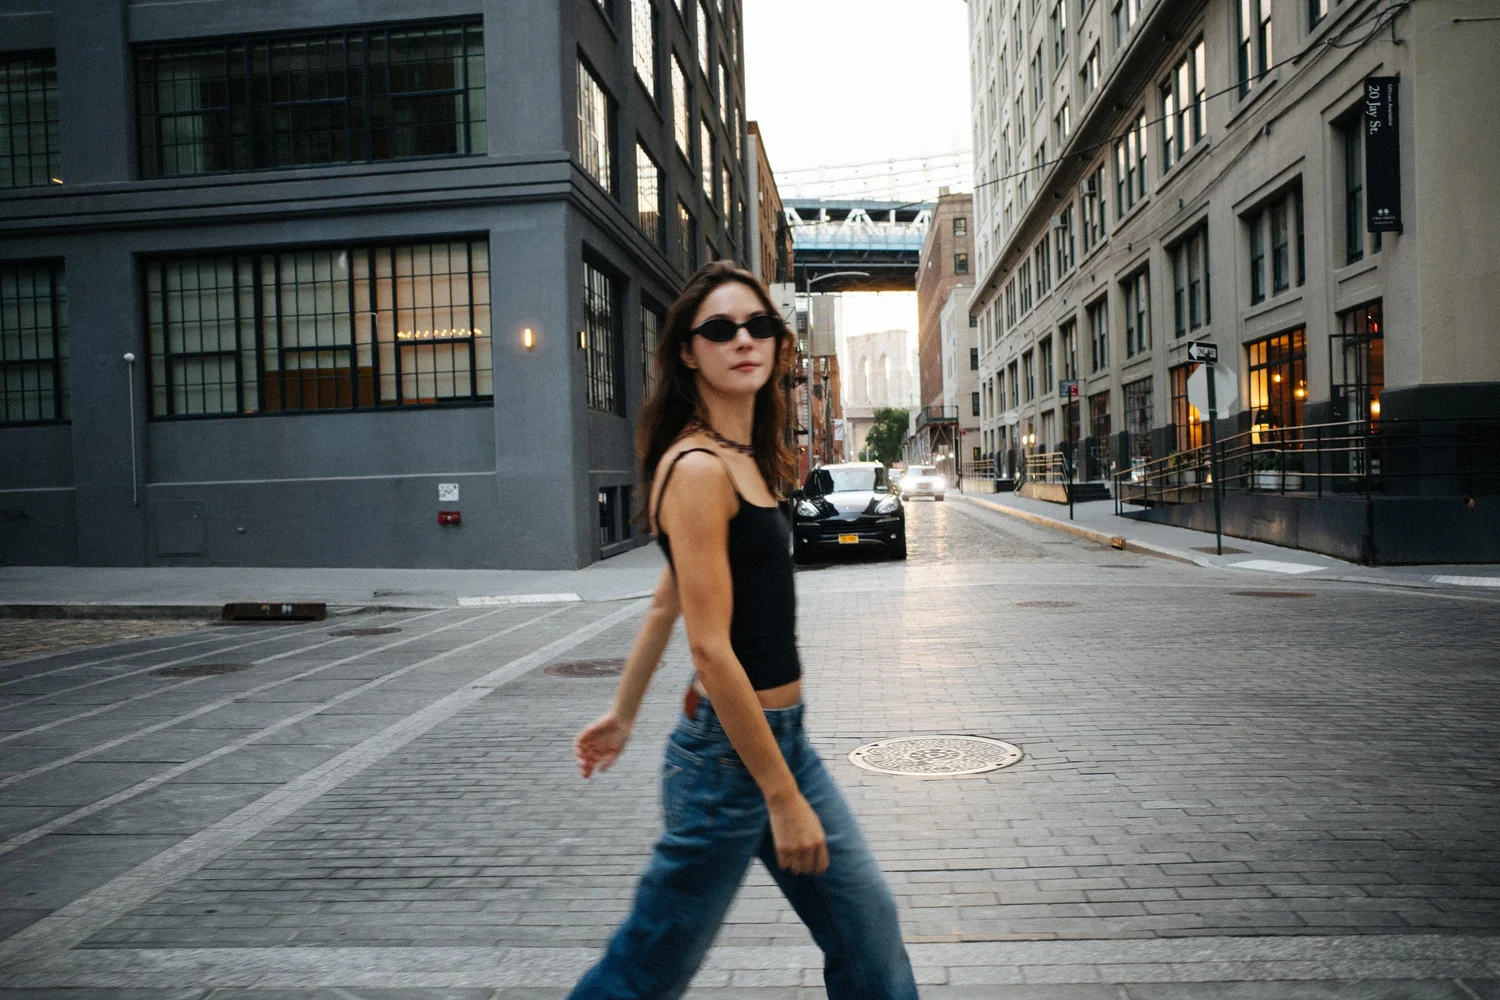
In Amanda’s photograph, the street opens behind her between tall buildings. The cobblestones and the edges of the buildings draw the eye into the distance, while her walking stride gives the foreground its own movement. The city stays recognizable without needing every detail to be sharp.
A useful question for a city portrait is: what does this background add? Here, it adds depth, scale, and a sense of moving through New York. Watch where street lines meet the person, and leave enough space around the body for the gesture to read. A small change in camera position can make the same block feel crowded or open.
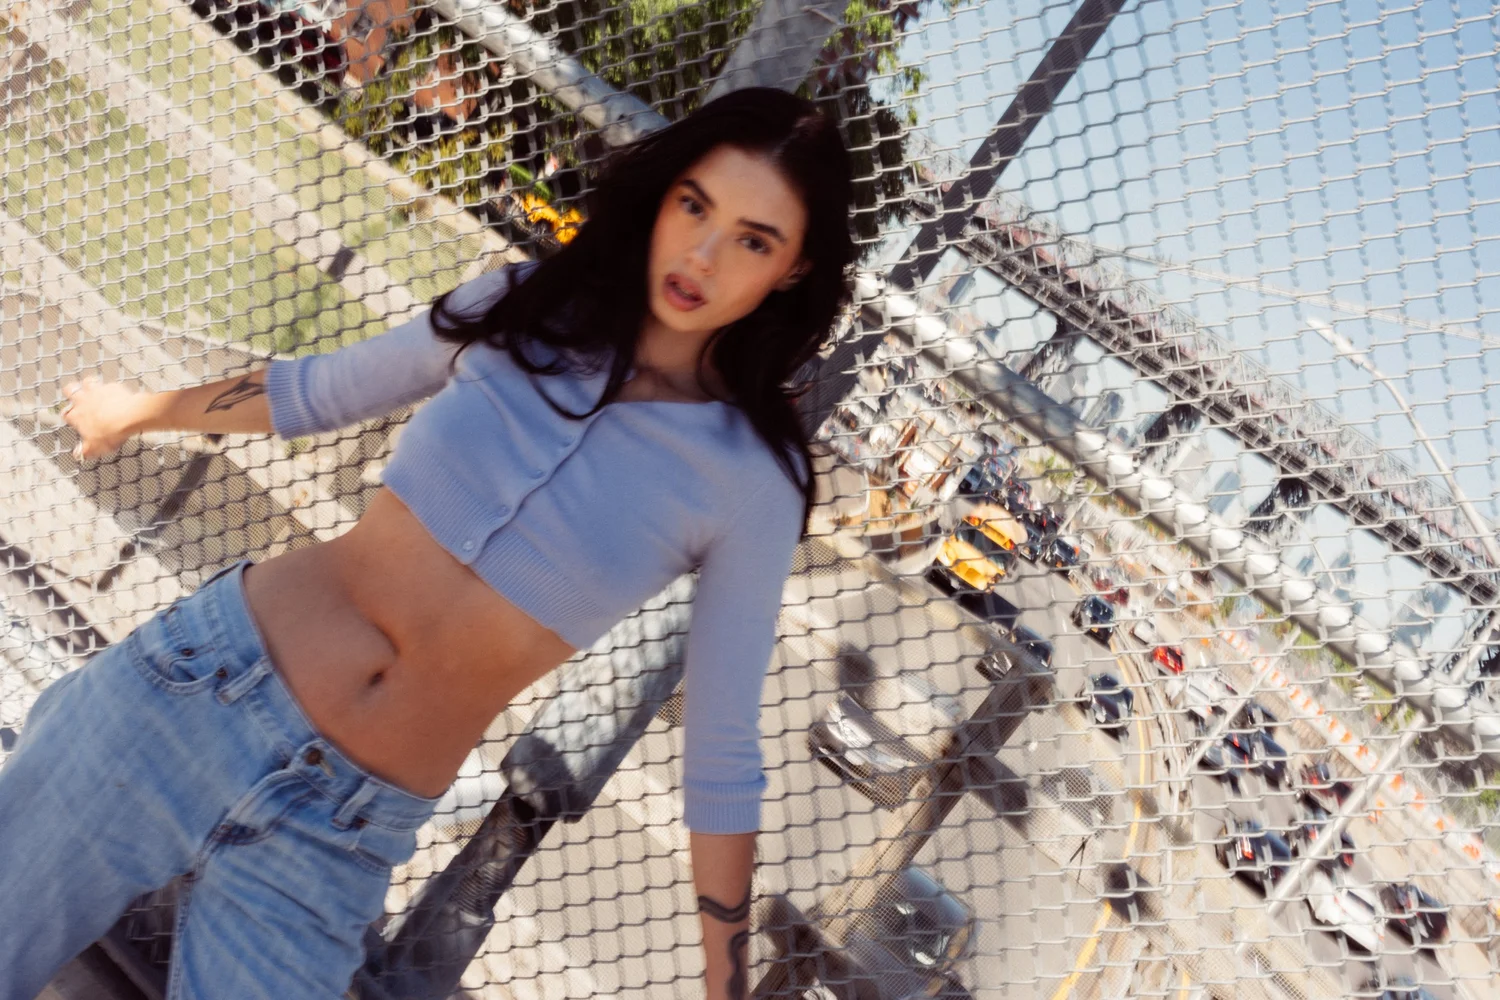
In the fence photograph, the repeating wire becomes a pattern around her. The tilt makes the background feel active, while her face gives the eye somewhere to settle. A fence or railing can help organize a frame, especially when the person’s gesture relates to its lines. Check those lines at the edges, too: a strong diagonal is more convincing when it carries through the whole composition.
For a broader comparison of streets, parks, and waterfront settings, see my NYC photo-location guide. Start with the mood you want, then choose a setting that supports it.
Change the distance, change the story

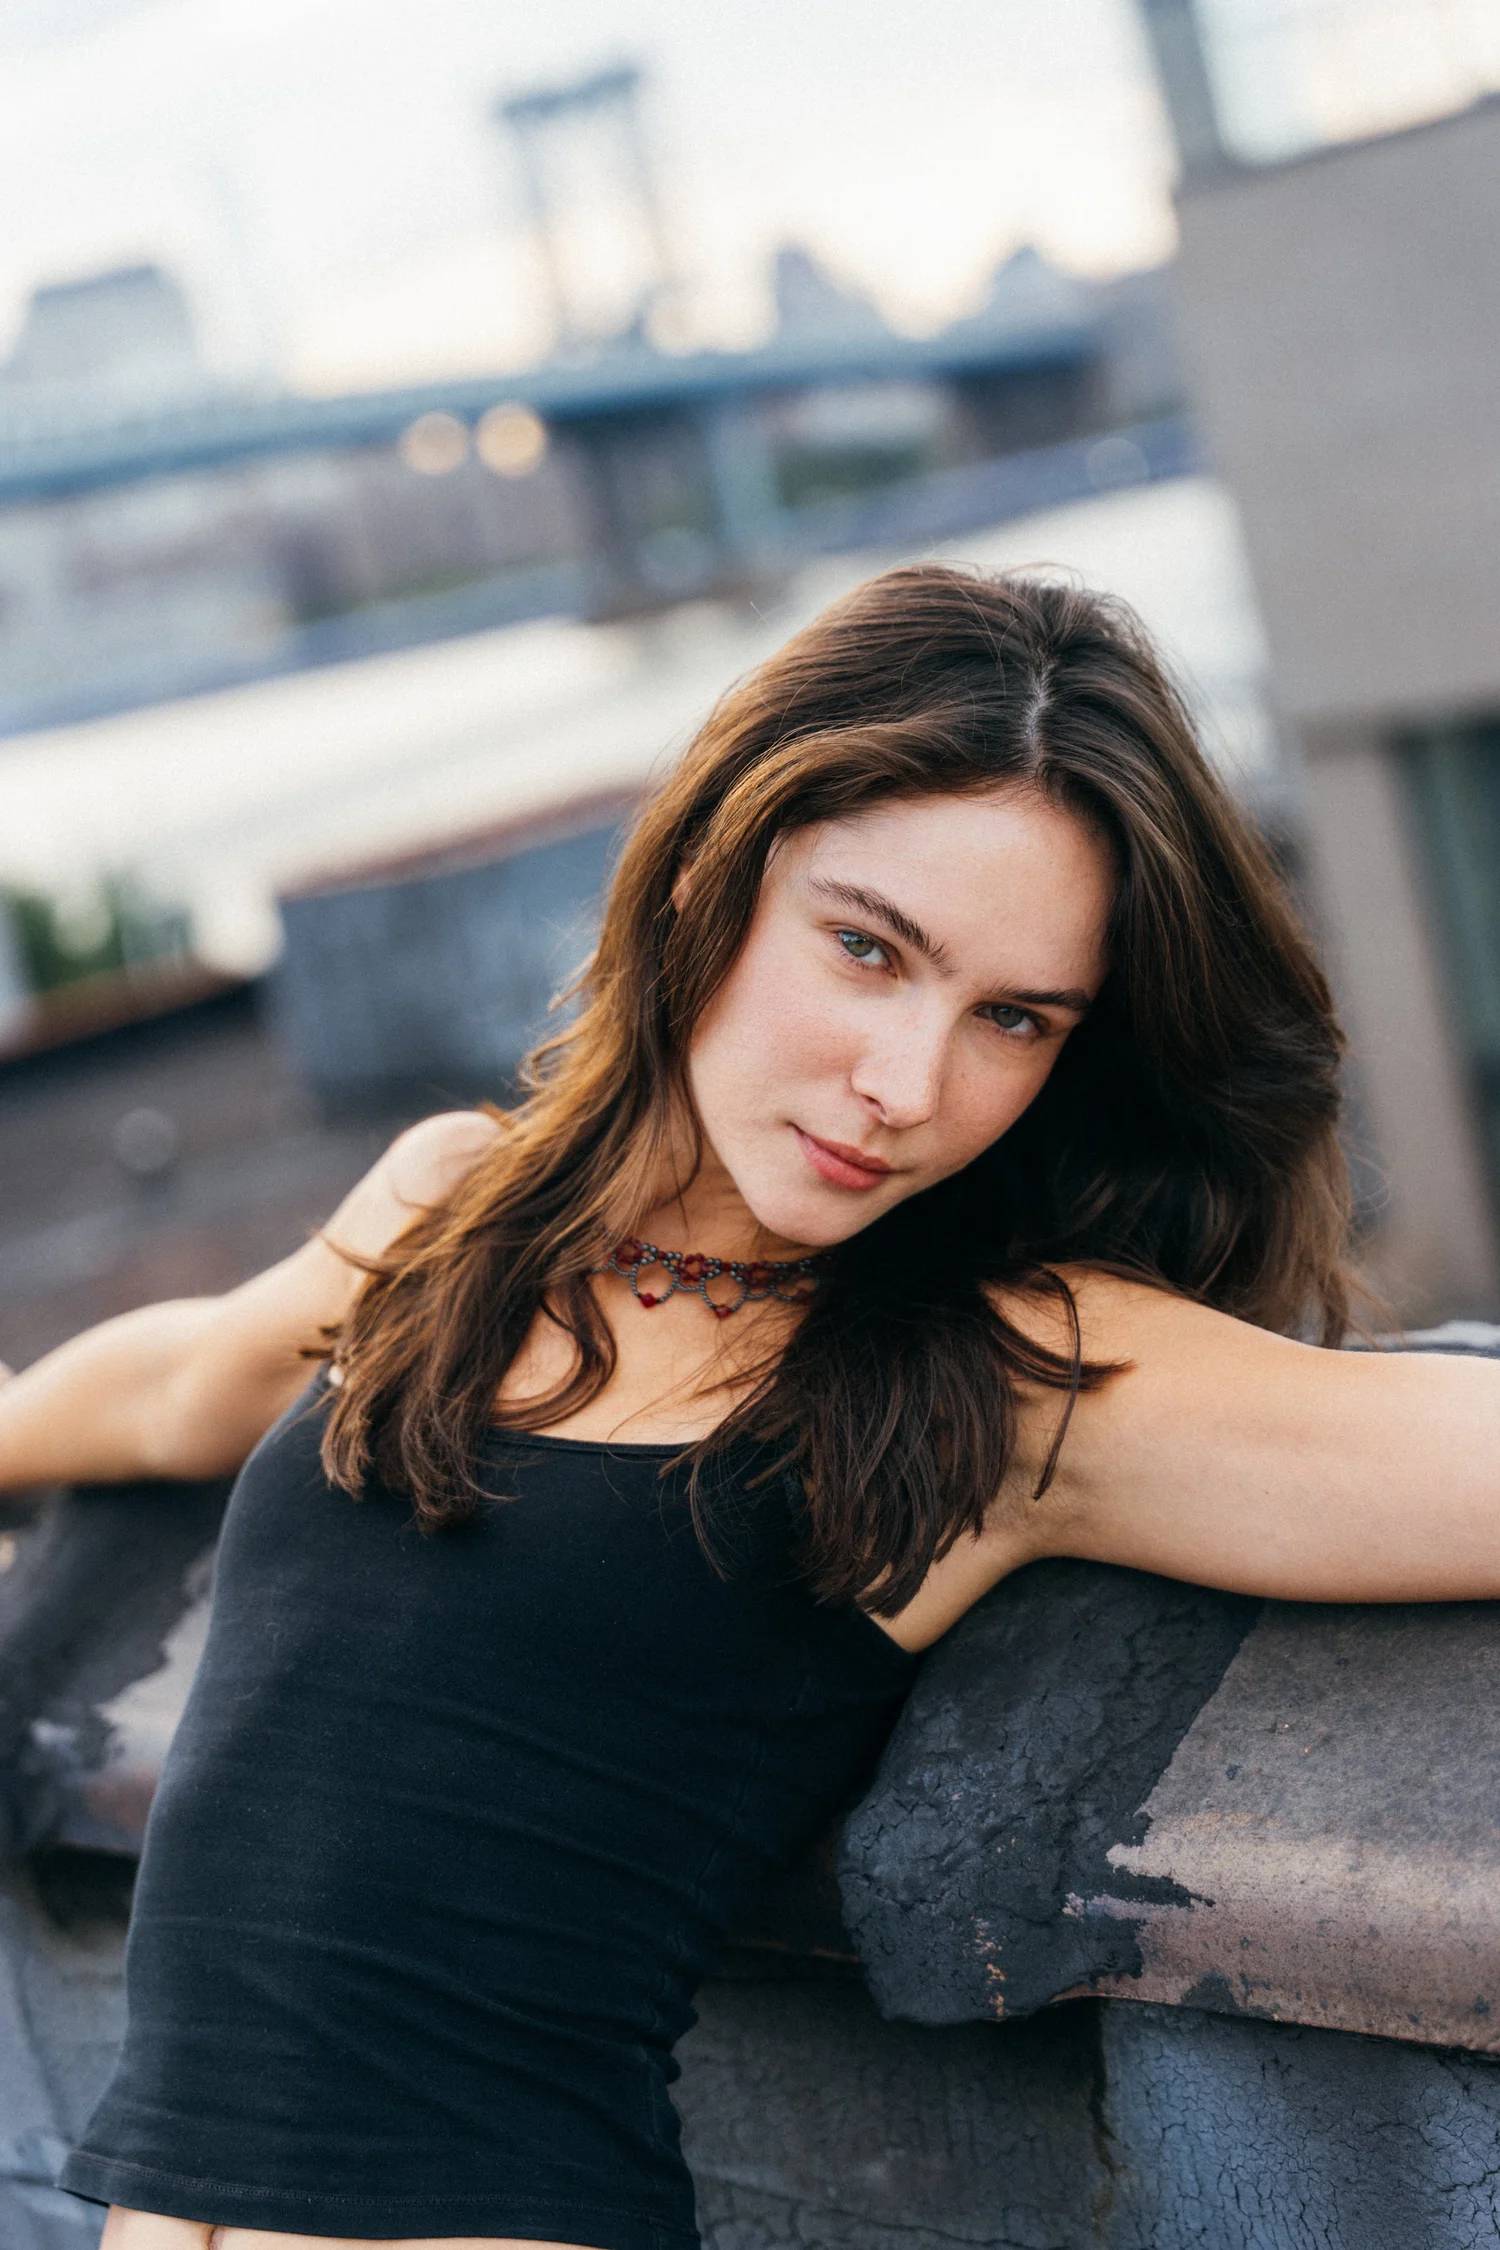
These two photographs give the same shoot different rhythms. In the wider image, you can read Amanda’s whole seated position and the space around the chair. The bridge is a major part of the picture. In the closer image, her eyes and the line of her arm carry more weight.
Neither distance has to do every job. A sequence can move from a scene-setting photograph to a quieter portrait. If all your frames feel alike, try changing how much of the body and background you include before searching for a new location.
The rooftop images here are examples from arranged shoots. Rooftop access needs to be confirmed when planning a session; these photographs are not a recommendation to enter a private building.
Give color a clear role
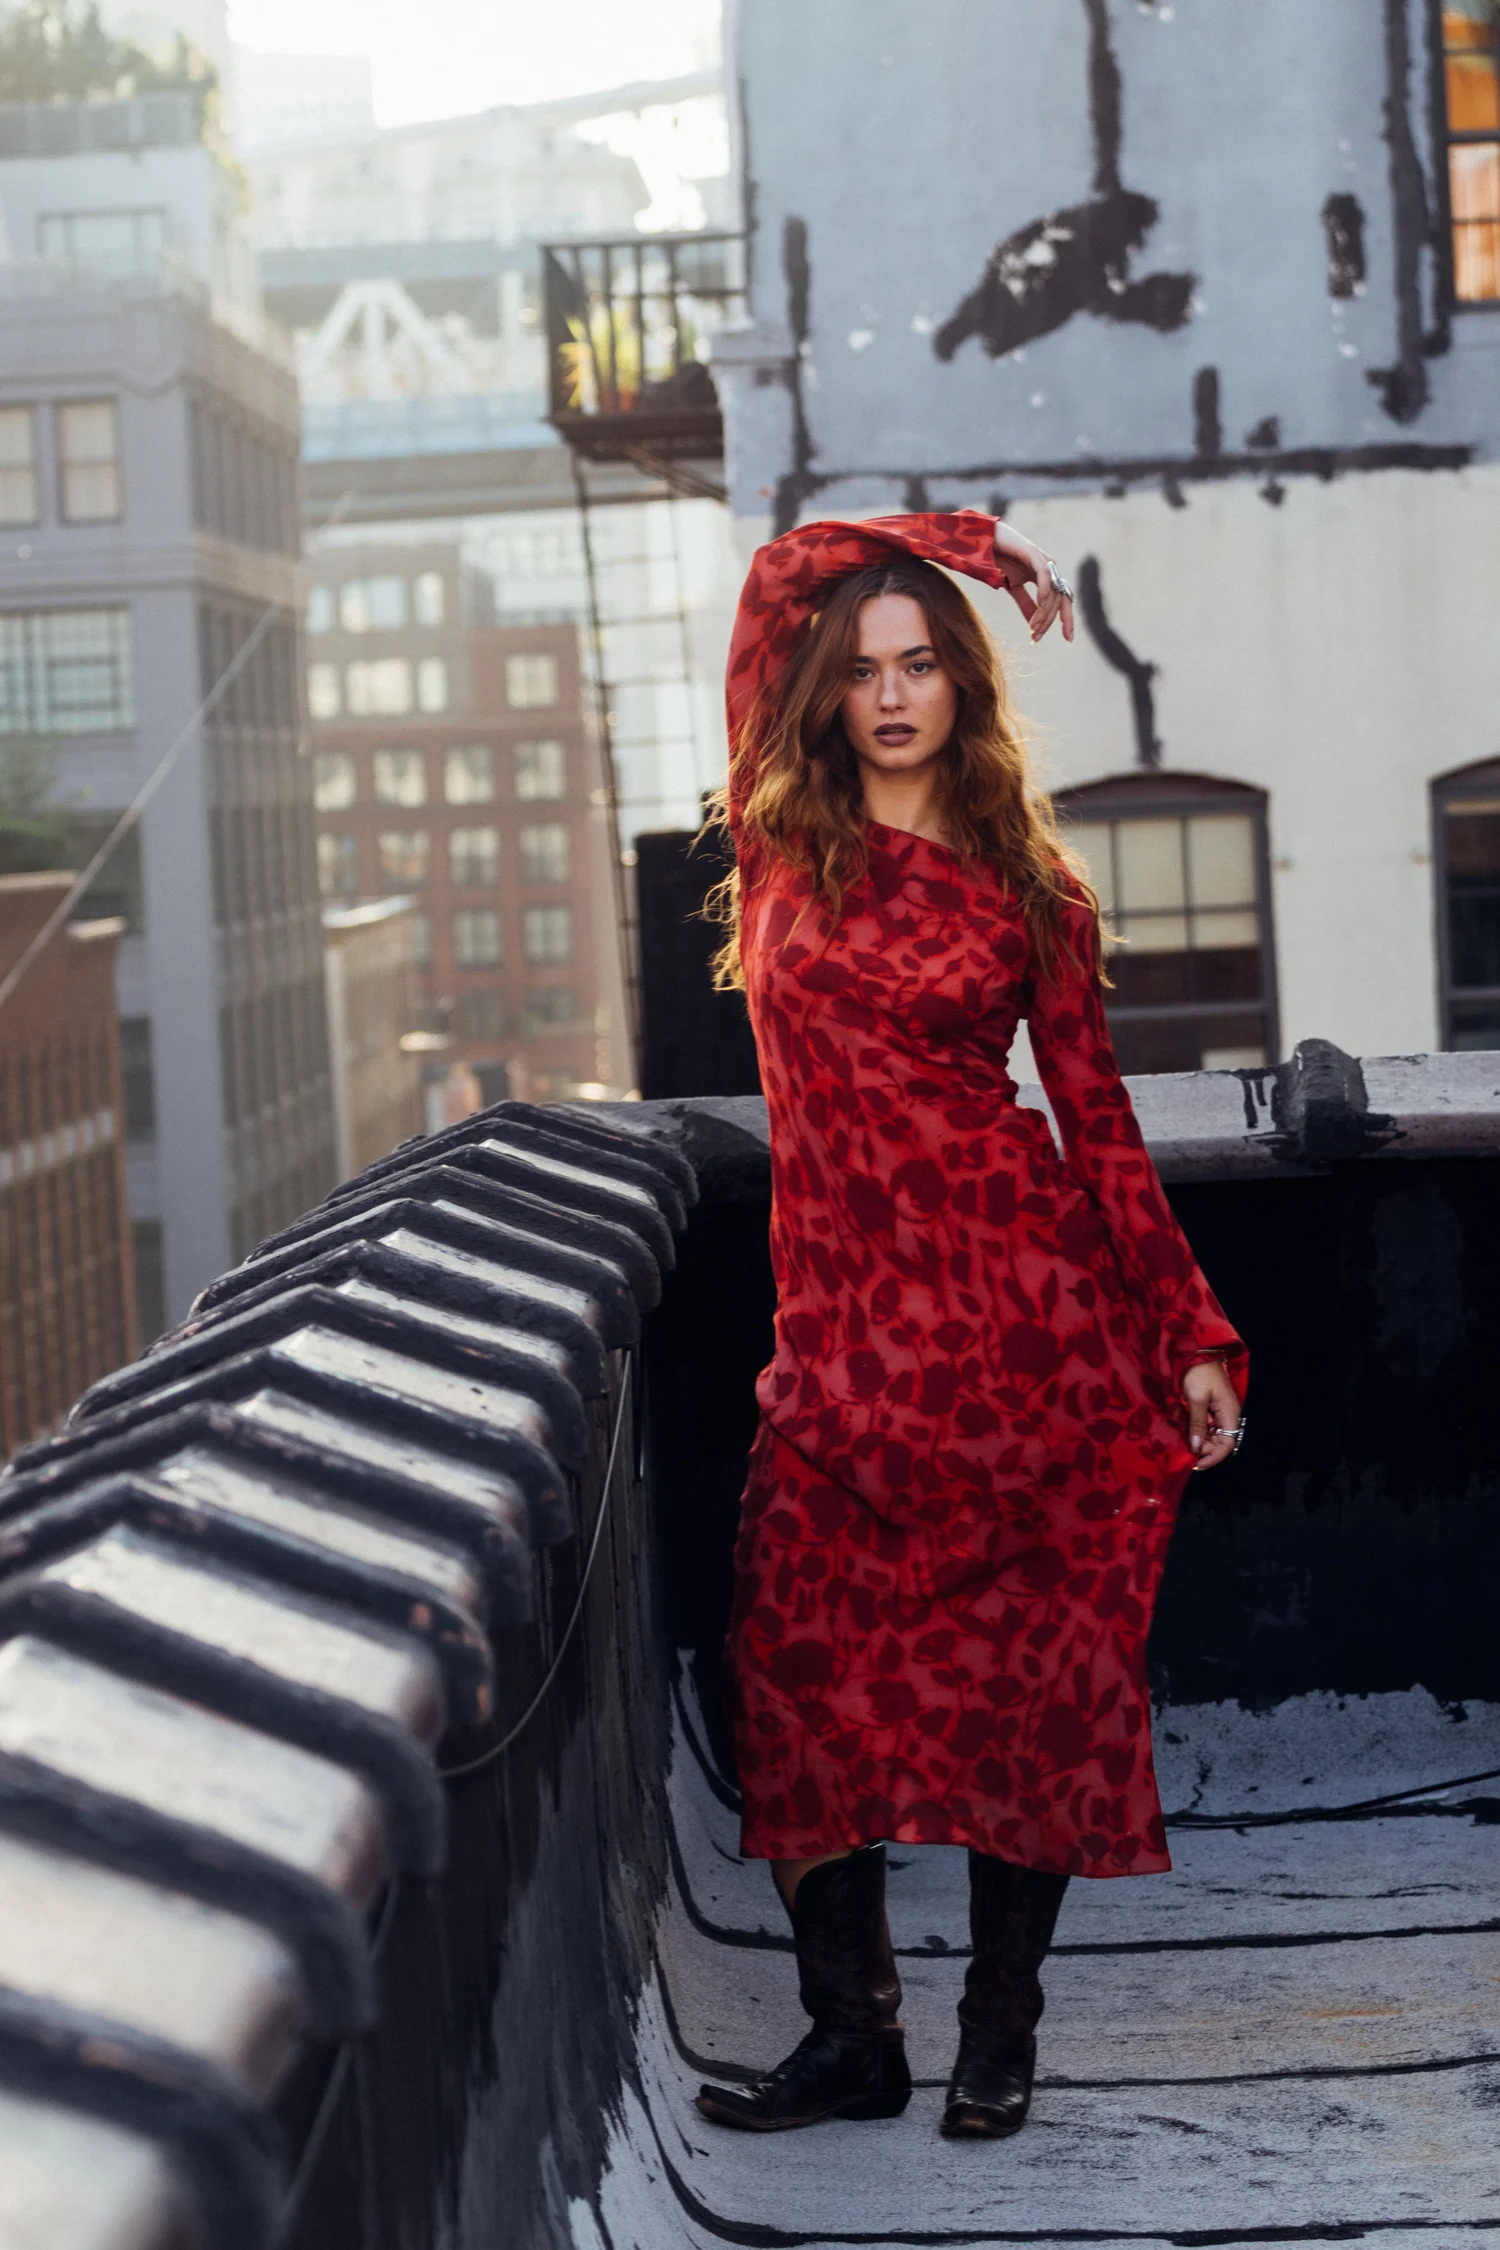

The red dress is the first strong color in the wider rooftop photograph. The surrounding concrete and buildings give it room. In the blue portrait, color fills much more of the frame, so the gesture near the collar becomes especially important: it breaks up that broad area of fabric.
For your own photographs, choose one color relationship to pay attention to. It might be a coat against a wall, a shirt that repeats a storefront color, or a warm face against a cooler background. Then check whether the composition makes that relationship easy to see. You do not need to make every color equally prominent.
If you are planning a shoot, clothing can be part of that conversation. The NYC portrait session guide covers practical preparation, including what to bring and how to plan for the day.
Read the light on the person
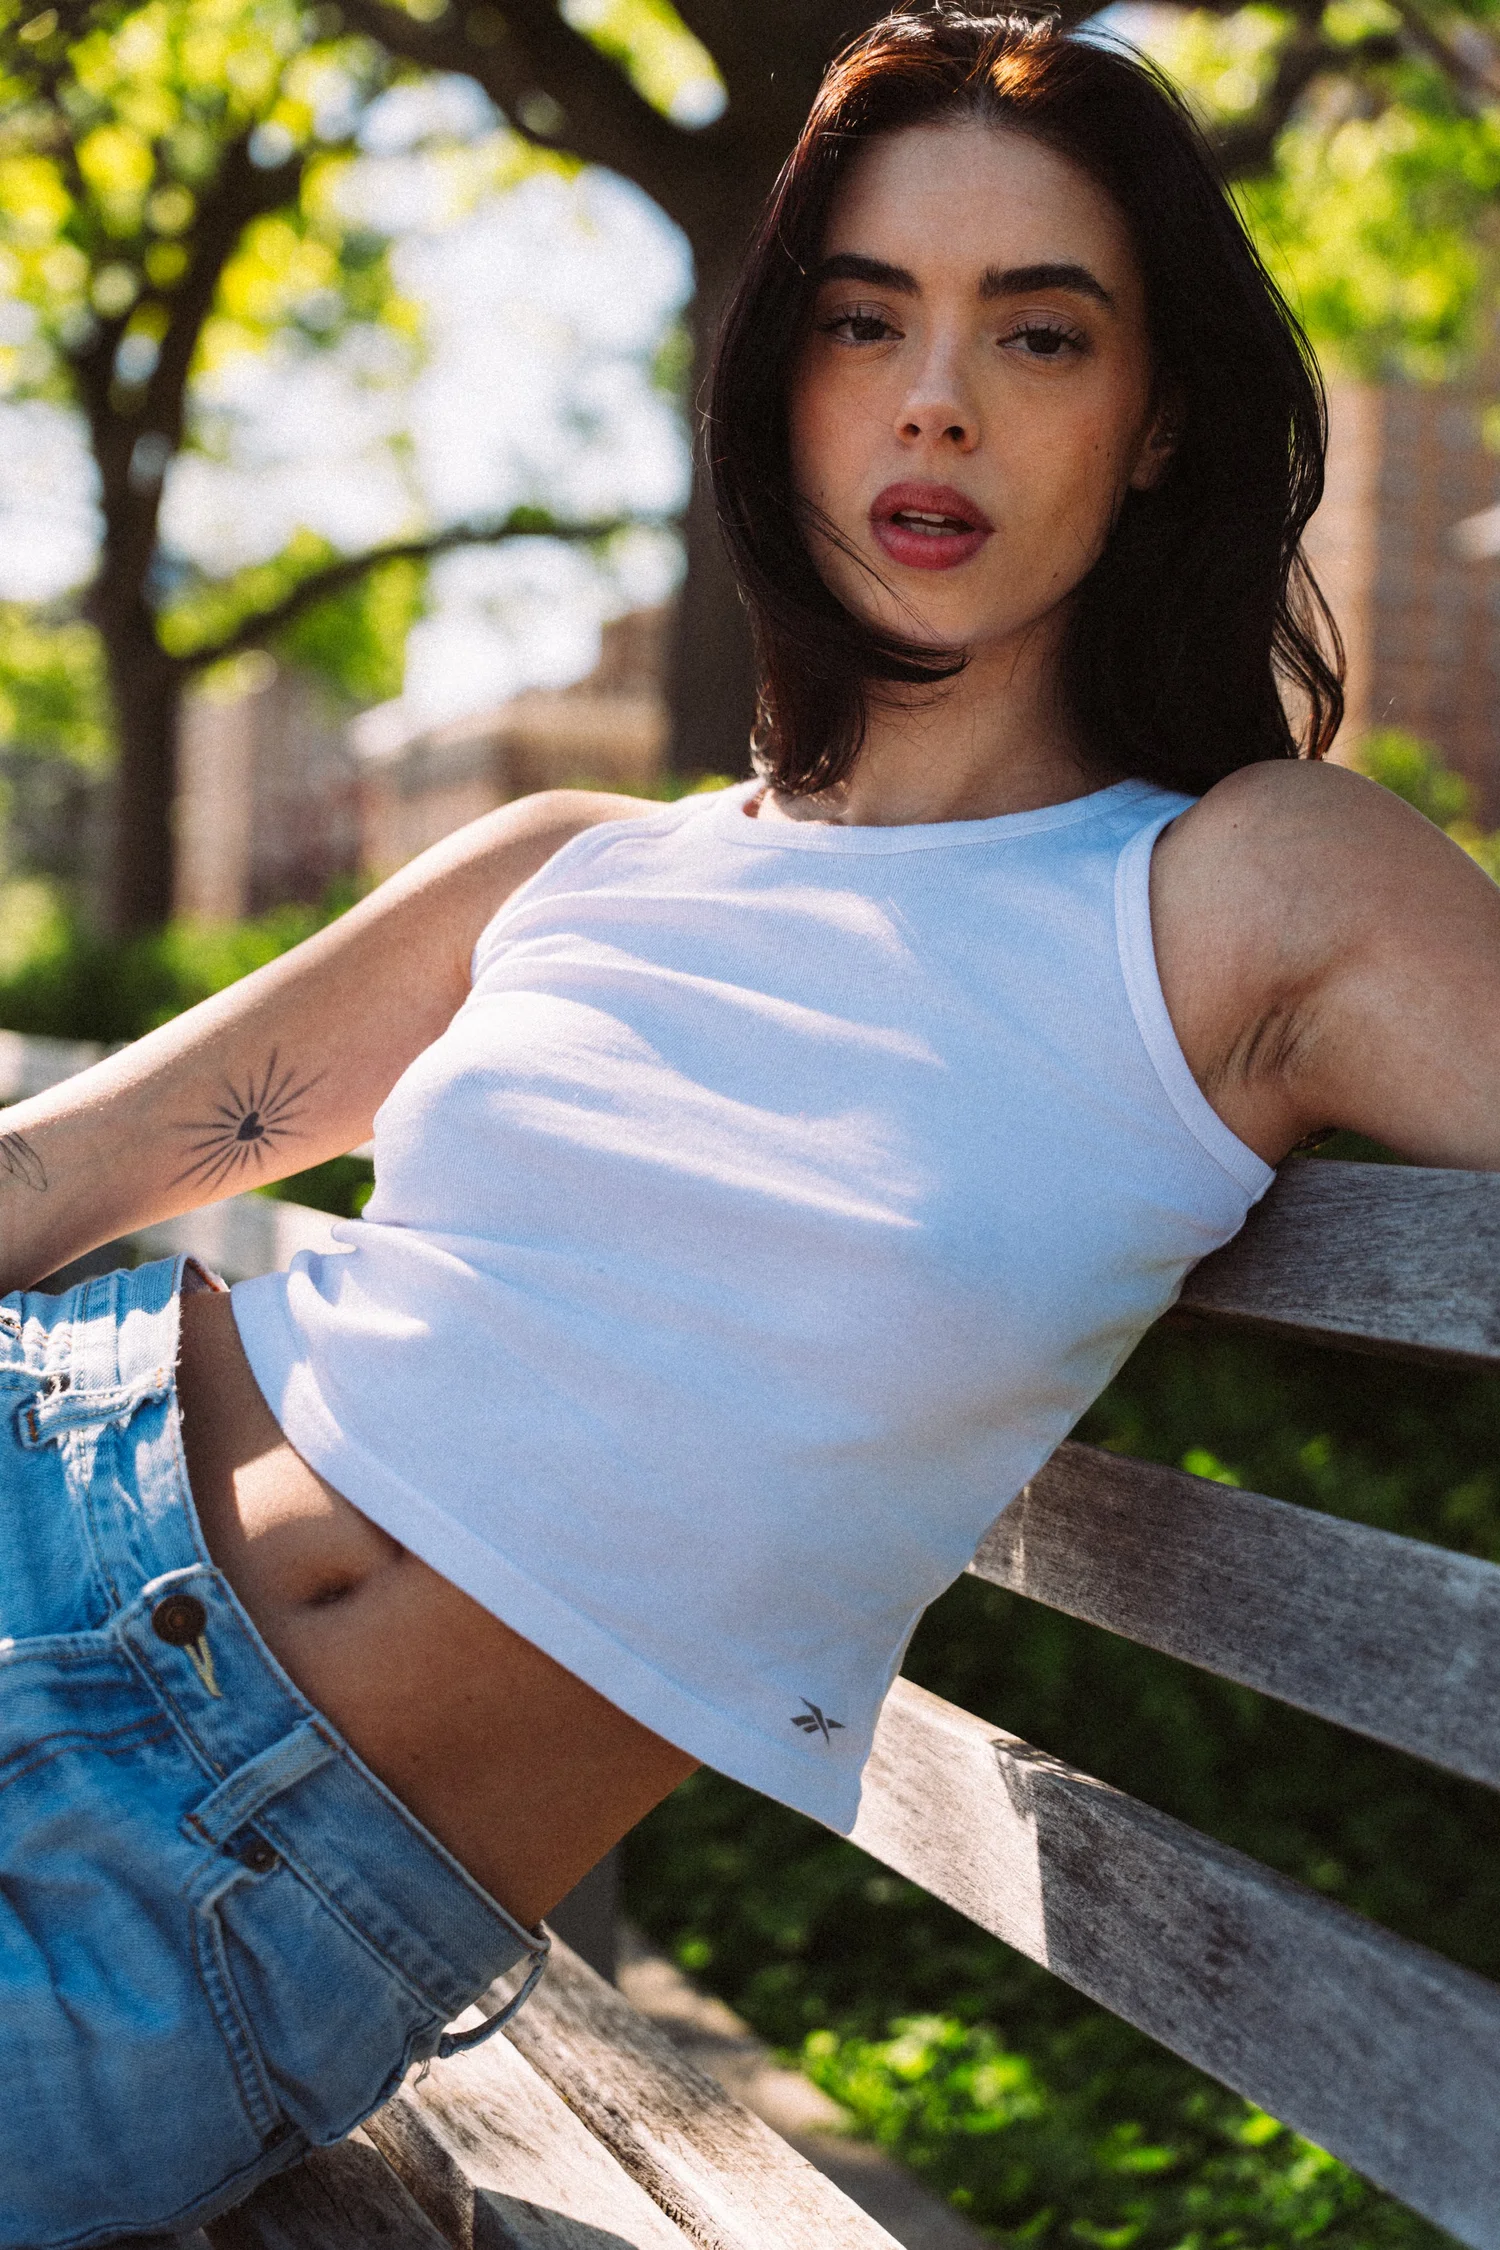
The light in this photograph is uneven across the scene. The leaves and hair catch bright highlights, while the face has softer transitions. The wooden bench introduces a diagonal that runs through the portrait without taking attention away from her expression.
When you photograph someone outdoors, look at the light on their face before deciding that the whole location is too sunny or too shaded. A small change in position can change which part of the scene is brightest. Watch for patches of sun that cut awkwardly across the eyes, and leave room to move as the light changes.
Compare this softer, leafy setting with Amanda’s waterfront image at the top. One surrounds the face with foliage; the other includes a bright sky and water. Each background asks you to balance the person against a different kind of brightness. My guide to outdoor portrait light looks more closely at those choices.
Let a gesture carry the photograph

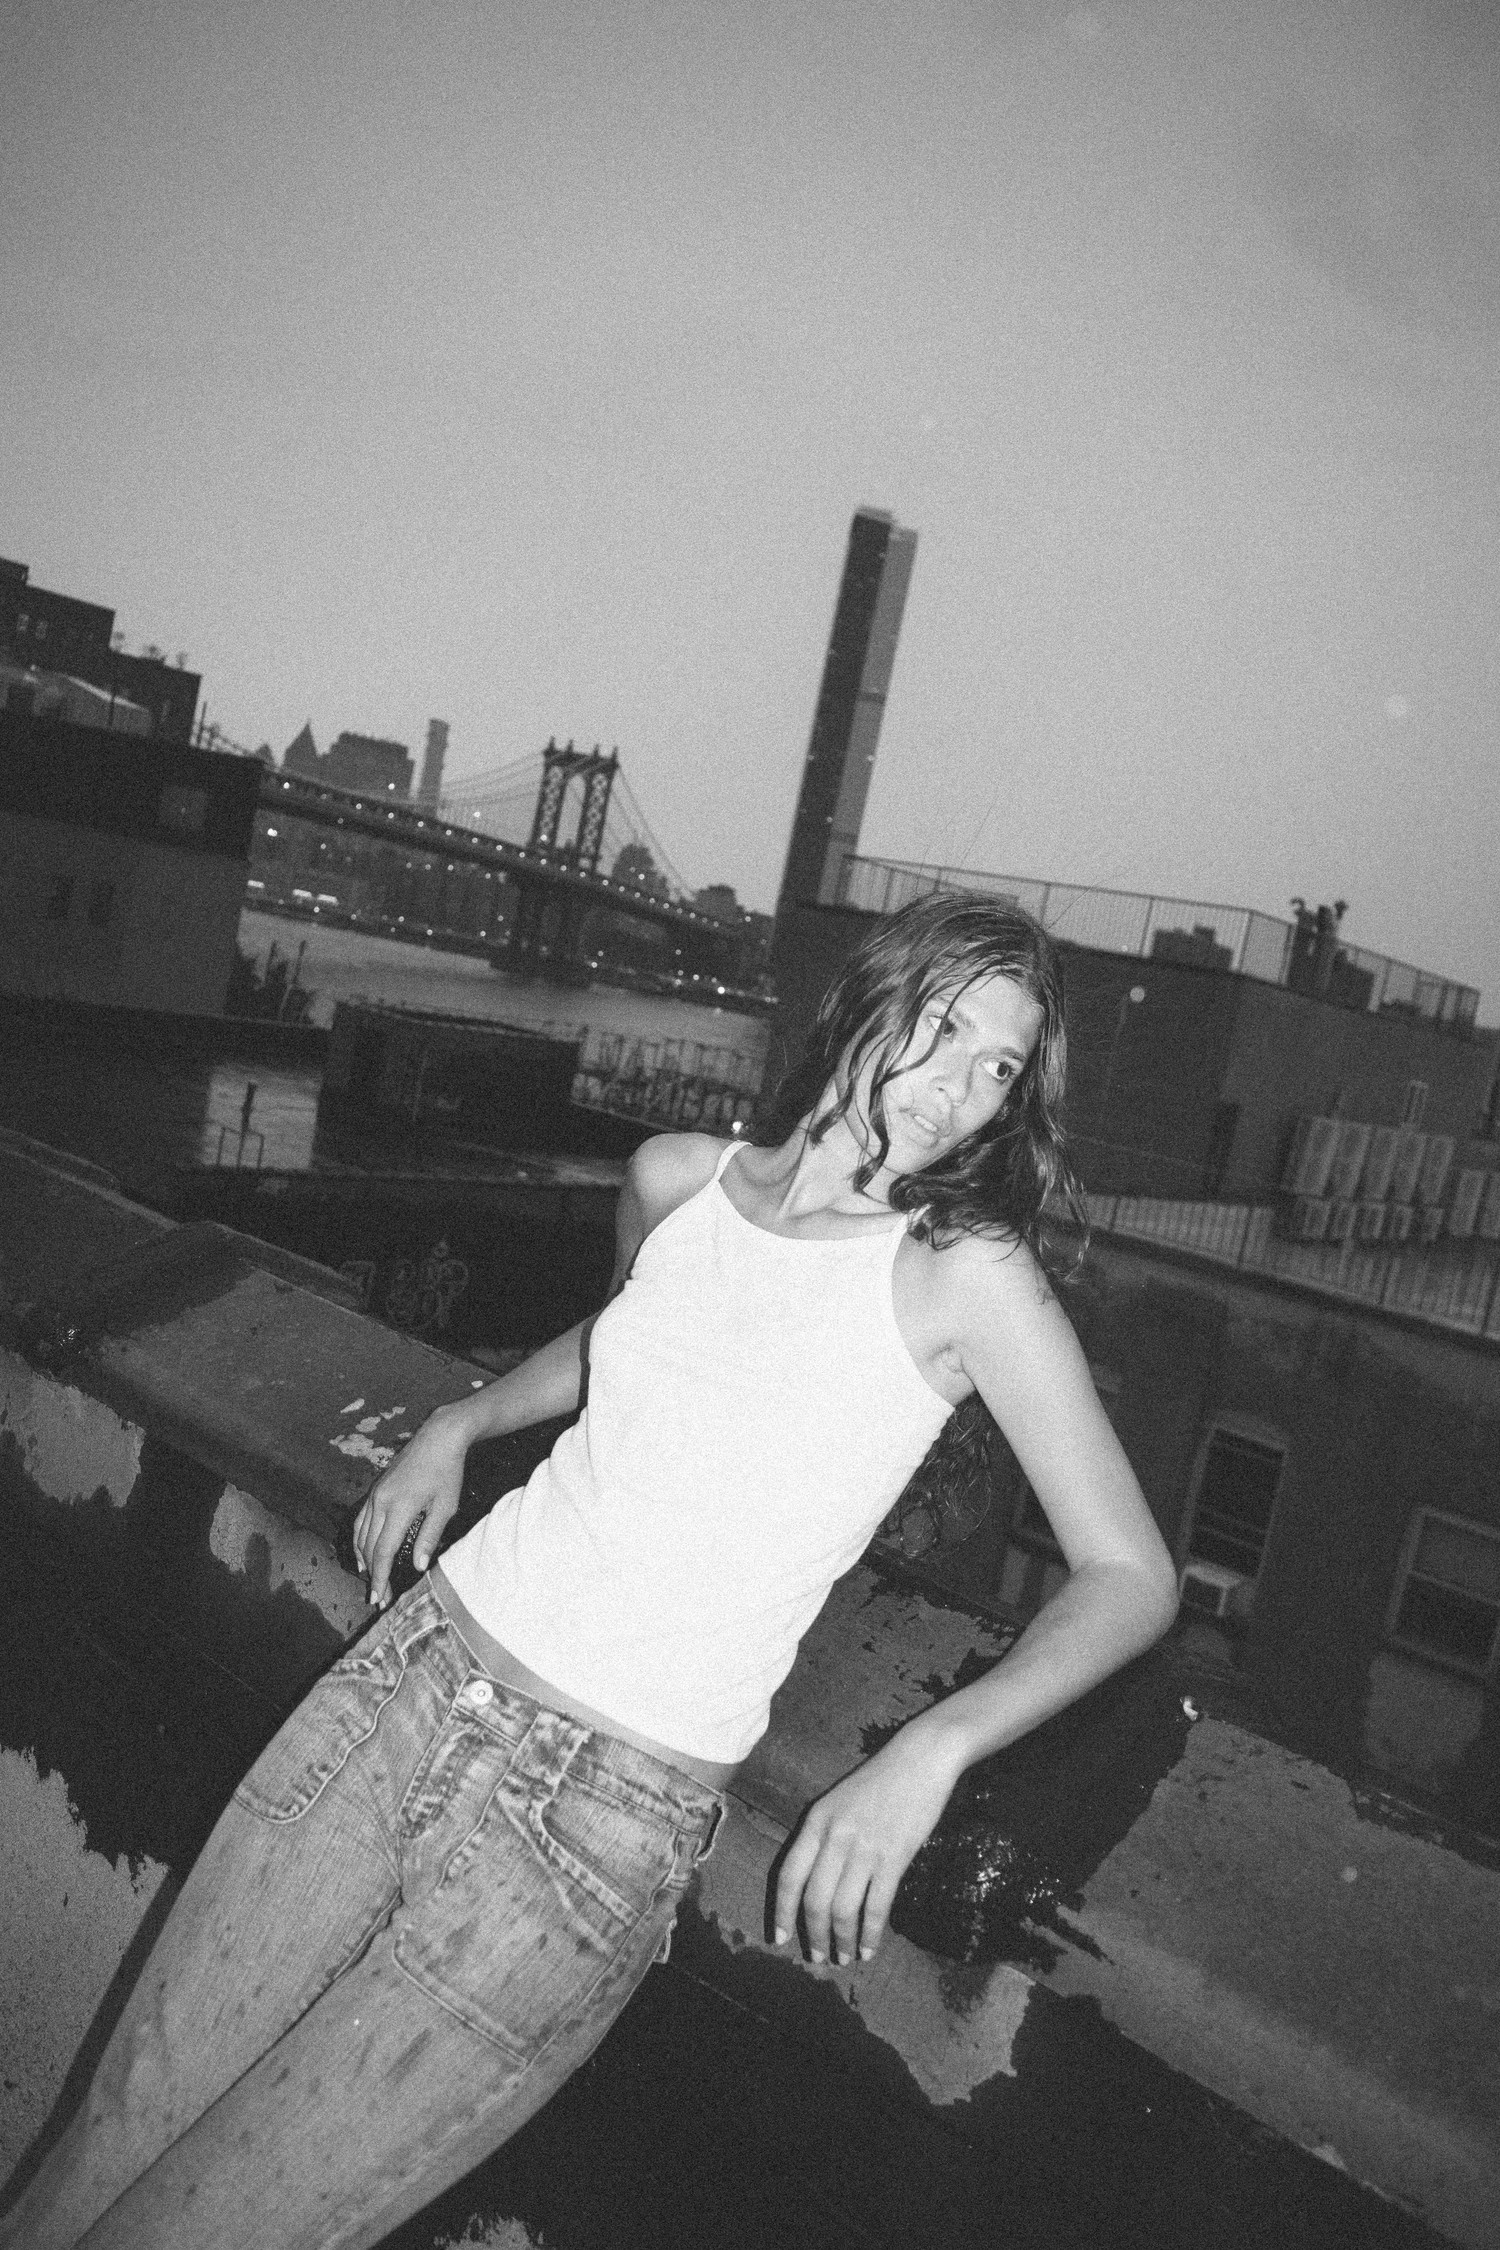
In the color photograph, Tara’s position feels unhurried. The second frame has a sharper change of direction: her head turns across the body, and the bent arm gives the silhouette another angle. The pictures have different energy even though both belong to a rooftop portrait session.
A gesture can be very small. A turn of the head, the placement of a hand, or a shift of weight may give a photograph enough structure. In a collaborative session, leave time for those changes to happen instead of rushing through a list of poses.
The black-and-white image also makes a useful study in tone. The shirt and face separate from the darker surroundings. When you remove color, look for that separation: does the subject still read clearly, and do the shapes still have a relationship?
Try these ideas on your next photo walk
Use the photographs above as a short exercise. You can work with a willing portrait subject, or apply the framing ideas to the public scenes you observe.
- Keep one ordinary city detail. Find a fence, barrier, railing, or wall that adds something specific to the frame.
- Make a wide image and a closer one. Compare how much of the story comes from the place and how much comes from the person.
- Choose one color relationship. Simplify the other elements enough that it remains visible.
- Check the face and the background separately. Notice where the brightest light falls in each.
- Wait for a clear gesture. Look for a hand, a turn, or a change of weight that gives the image its shape.
Keep sidewalks and entrances clear, respect requests to stop, and ask before making a collaborative portrait. For an arranged shoot, confirm access to any private location in advance.
Make the city part of your own portrait
These four shoots share a city, but each person gives the photographs a different feeling. Your session can start with the same question: which images feel closest to you, and what do you like about them—the color, the closeness, the light, or the space around the person?
Browse my portrait portfolio and NYC portrait photography for more of the work. If you are planning photographs together, explore couples sessions and the guide to natural NYC engagement photographs.
Send me your preferred date and two or three photographs that caught your eye. We can use those references to discuss the setting, clothing, and pace of your shoot.
All photographs by Zian.