
Planning a NYC Brand Content Day
A brand content day works best when it is built around the material you actually publish. Map the photographs to your website pages and recurring messages, then organize the shoot so each setup produces useful variety.
Inventory the gaps before making a mood board
Open your website and recent posts. Where are you repeatedly using the same image? Which page has no photograph that explains the person or work behind it? Which upcoming announcement needs something new? Those gaps are the starting point for a NYC brand content day. A collection of attractive references comes later, once the purpose is clear.
For a personal brand, the list might include a main introduction, a quieter biography portrait, a wide image for a website section and several expressive frames for recurring posts. Product details, team portraits or process documentation are additional requirements to discuss explicitly. They should not disappear inside the vague phrase content creation.
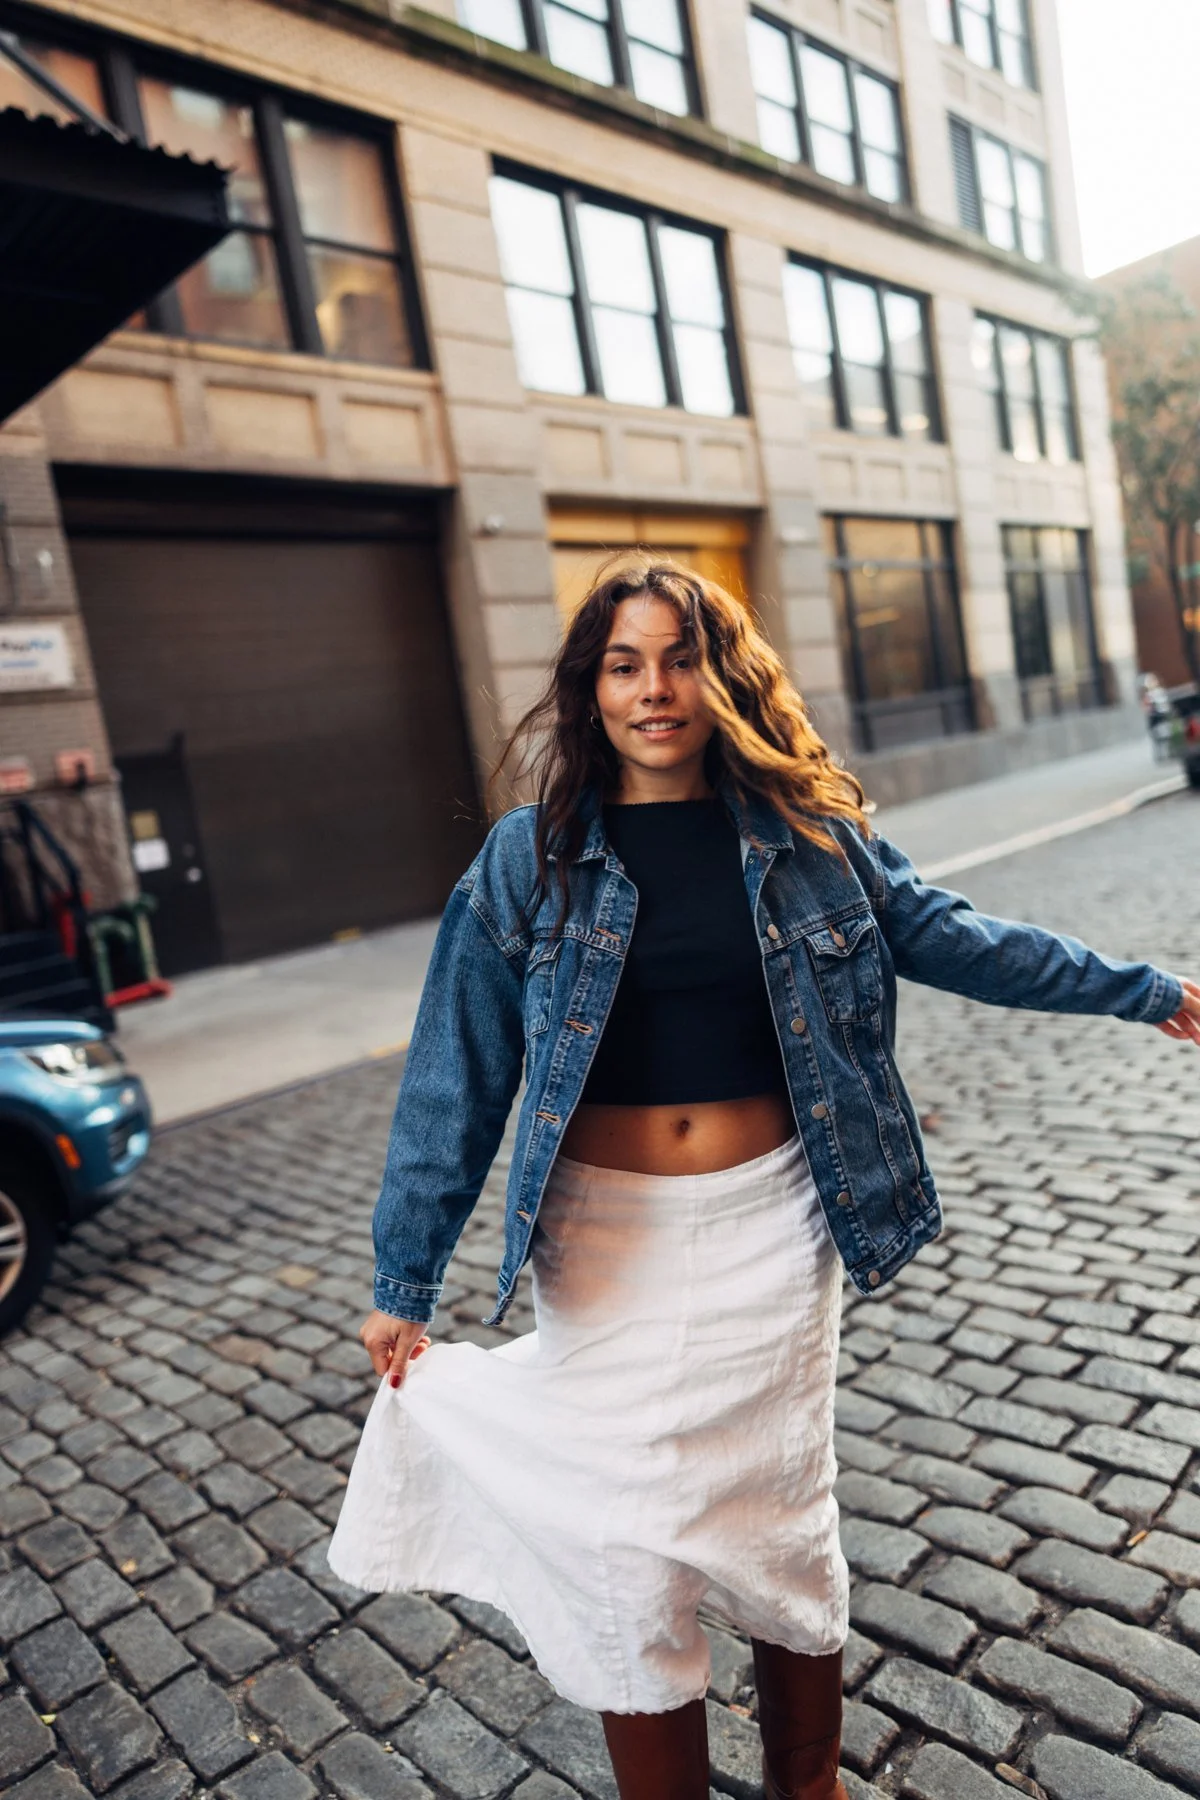
Build a small number of connected visual directions
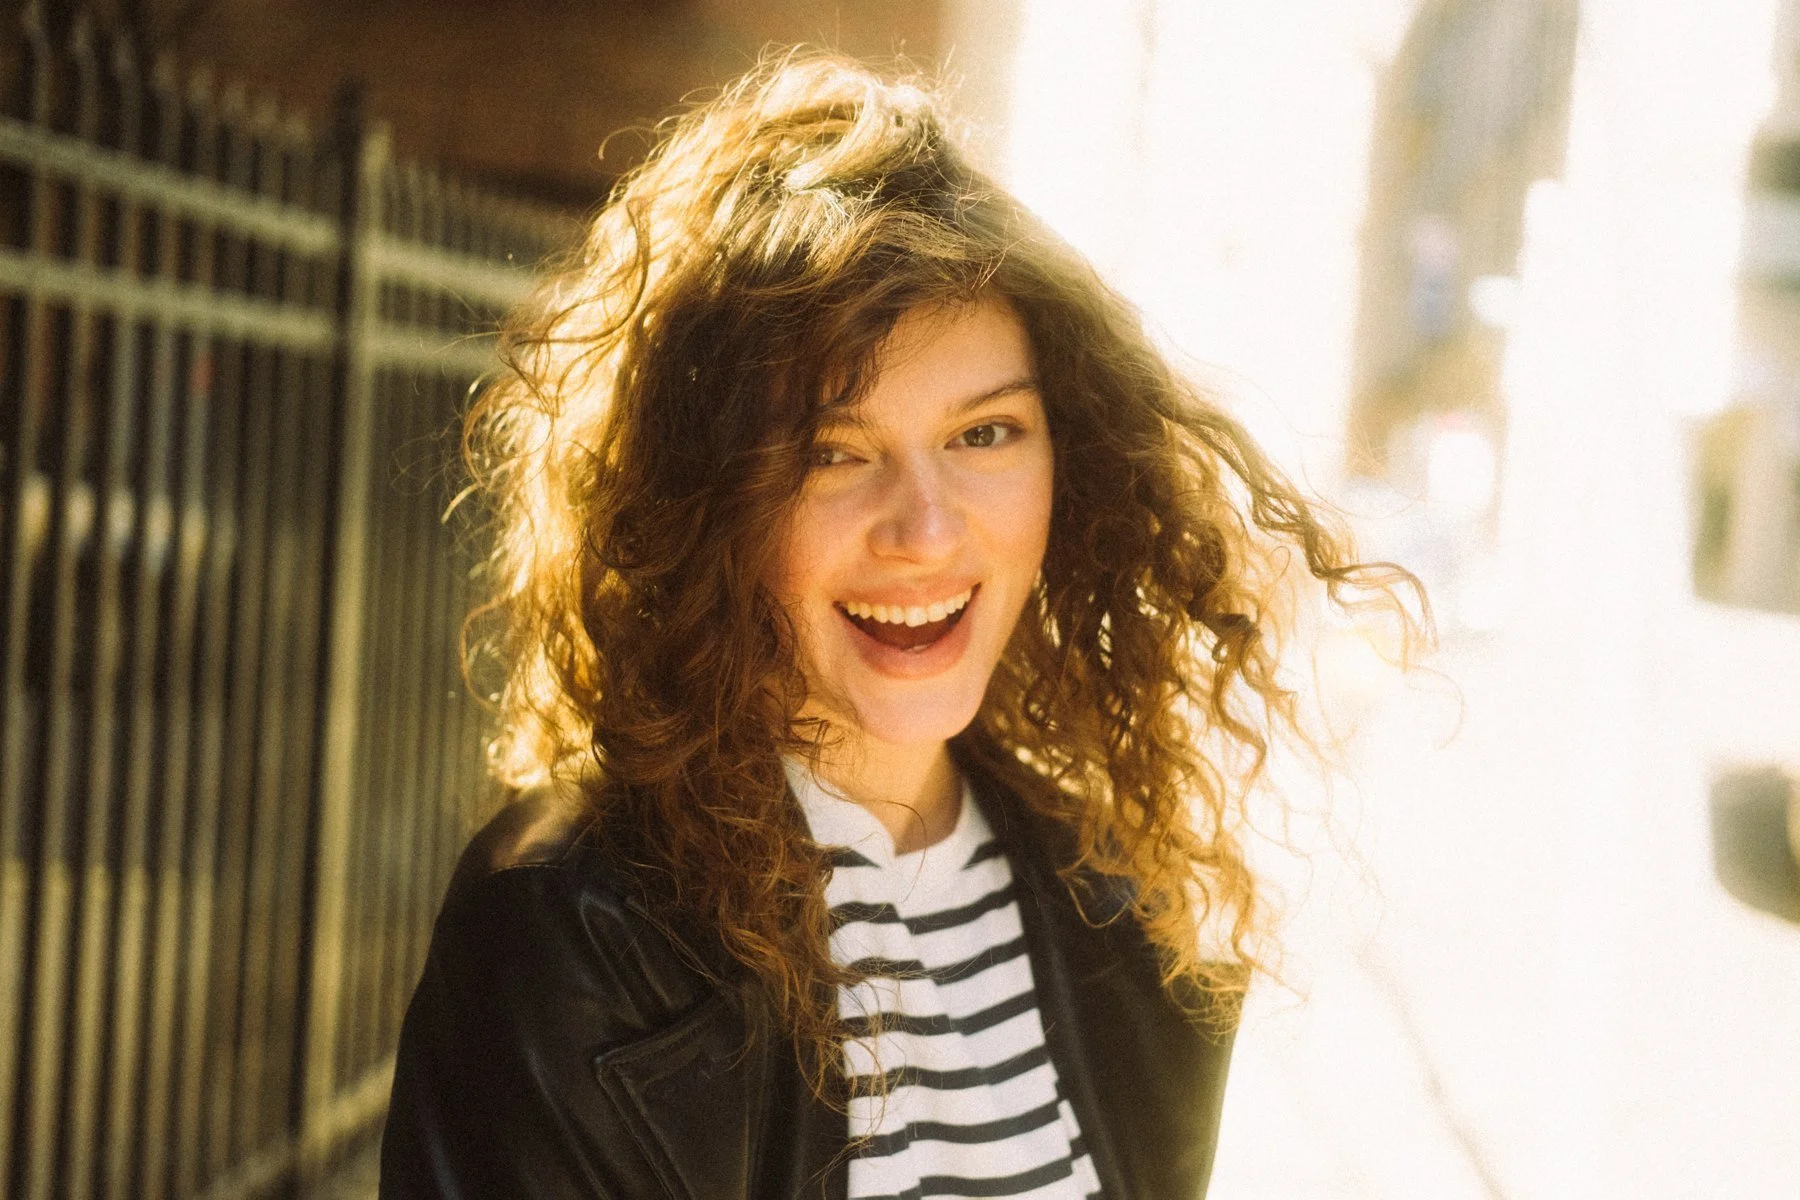
Choose a few qualities the photographs should share: restrained colors, lively gestures, textured surroundings or clear graphic shapes. They give the set a connection while leaving room for different compositions. The portrait examples here demonstrate that variation; they are not presented as a brand campaign commissioned by the people pictured.
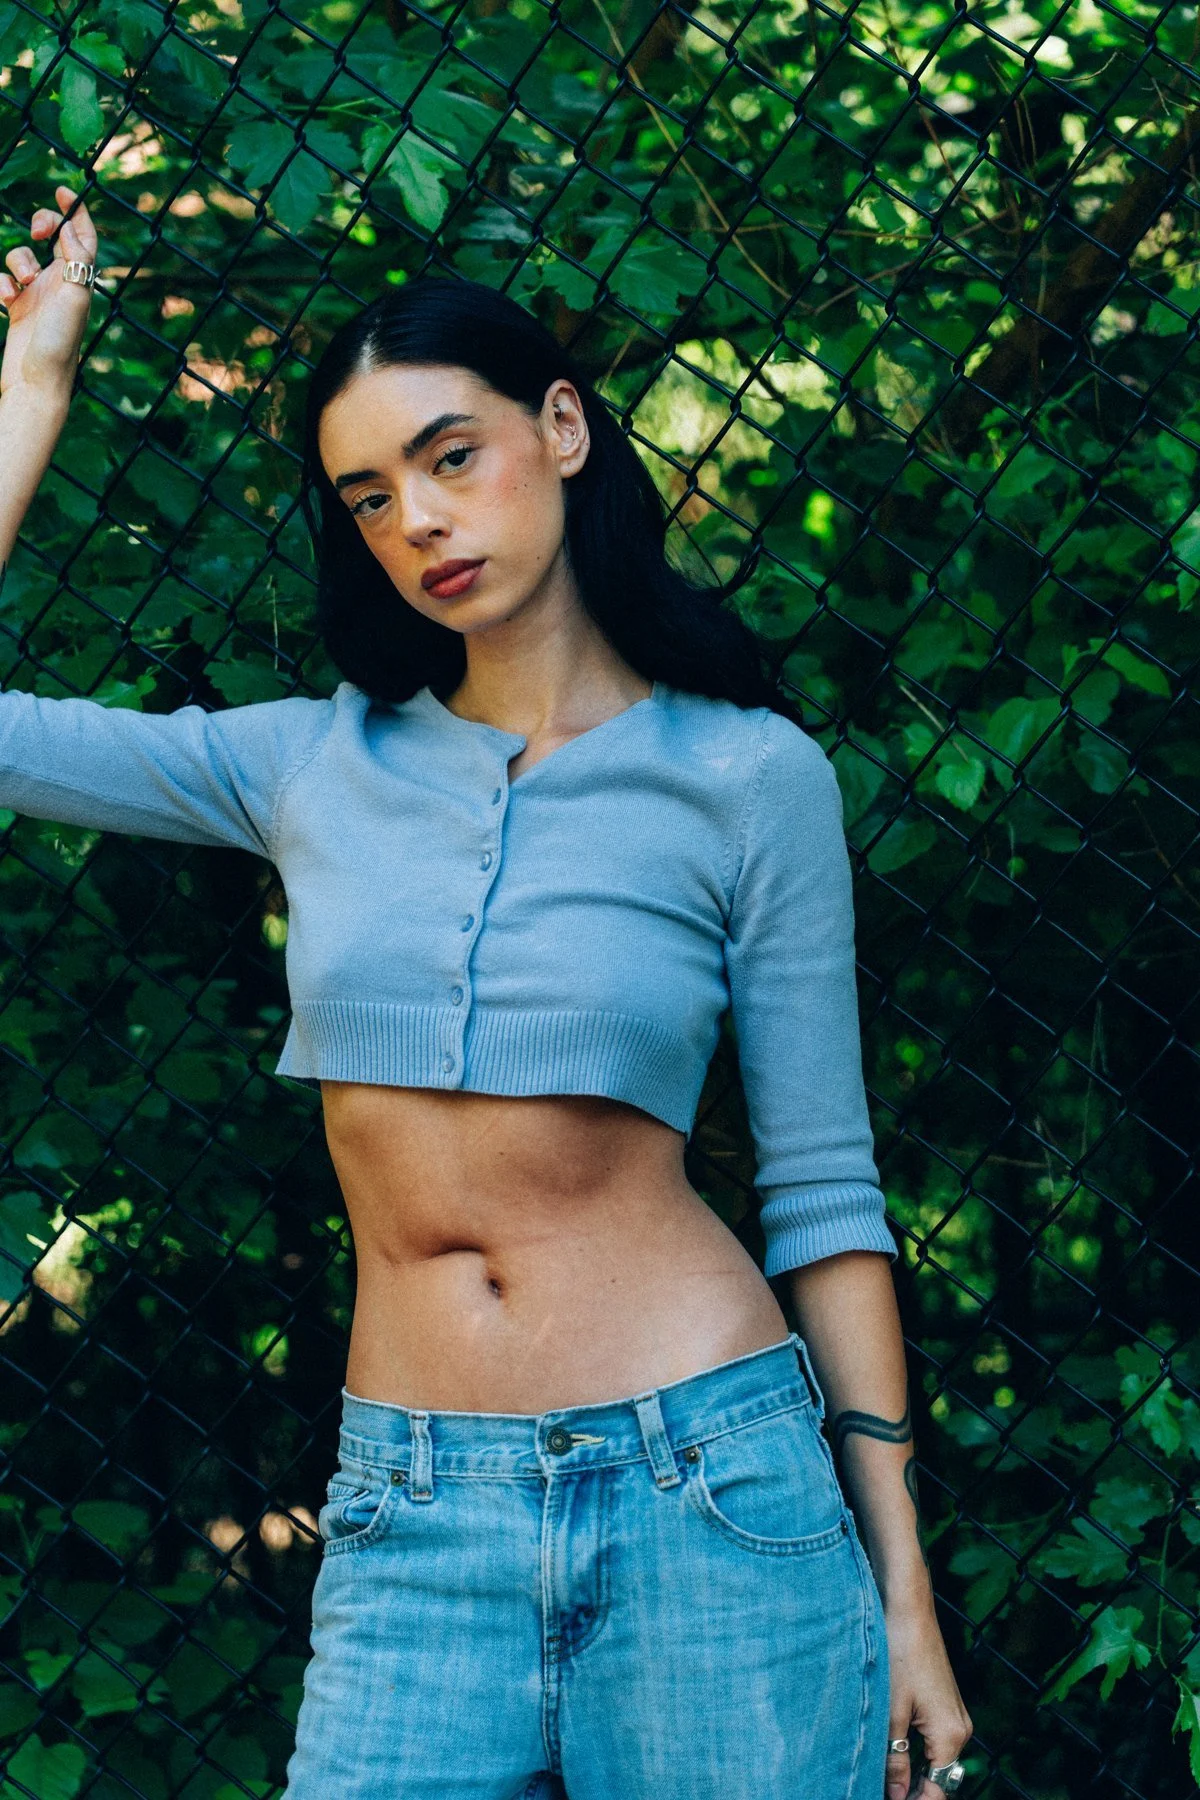
Marley's moving street portrait and Hannahbeth's blue-and-green frame show two ways to make styling recognizable. One uses the shape of a skirt in motion; the other builds a clear color relationship. These are separate shoots, offered as choices for your own plan. A purposeful layer, texture or color can connect your photographs without making every frame identical.
Make a shot list that a person can follow
Write each priority as an image with a use, rather than a feeling alone. For example: a horizontal portrait for the About-page banner, with space on the left for text. Another might be a close portrait for introductions, or a moving frame to accompany a personal story. This makes it easier to decide whether the planned photographs cover the brief.
Include orientation, likely crop, clothing and any object that genuinely belongs to the business. If a detail is undecided, mark it as a question. A clear photography brief allows a practical conversation about what fits the available time and production scope.

Group the work by setup, not posting order
Your publishing calendar may move between topics, but the shoot can be organized around practical changes. Photograph several useful compositions in one setting before moving equipment or changing clothes. A close portrait, a wider view and a different gesture may all come from the same visual direction.
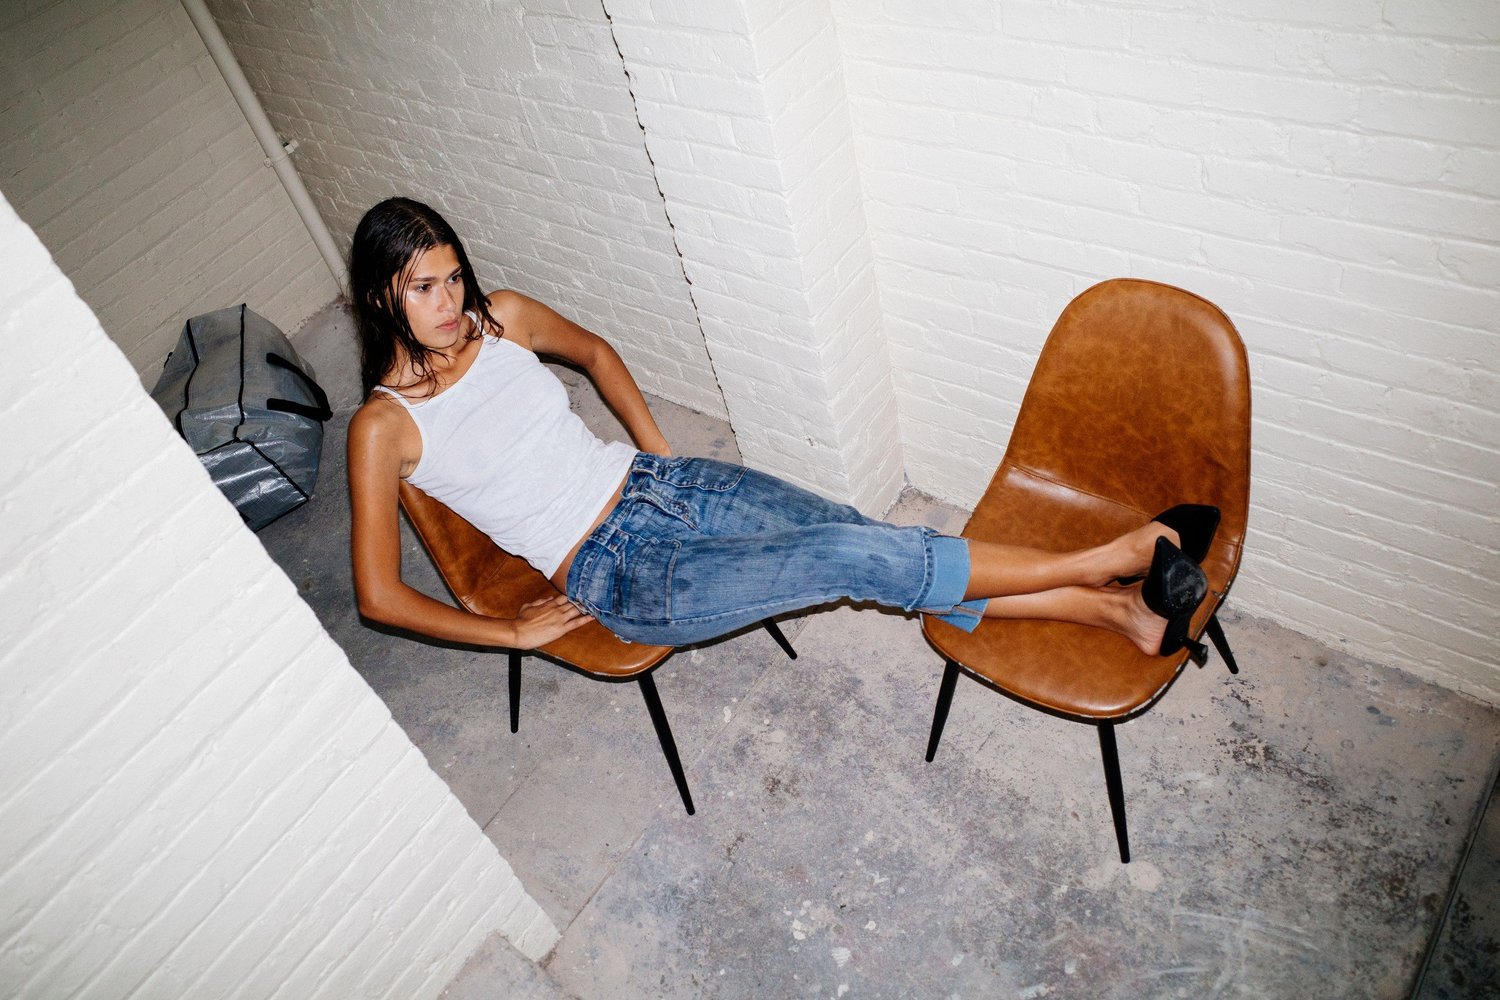
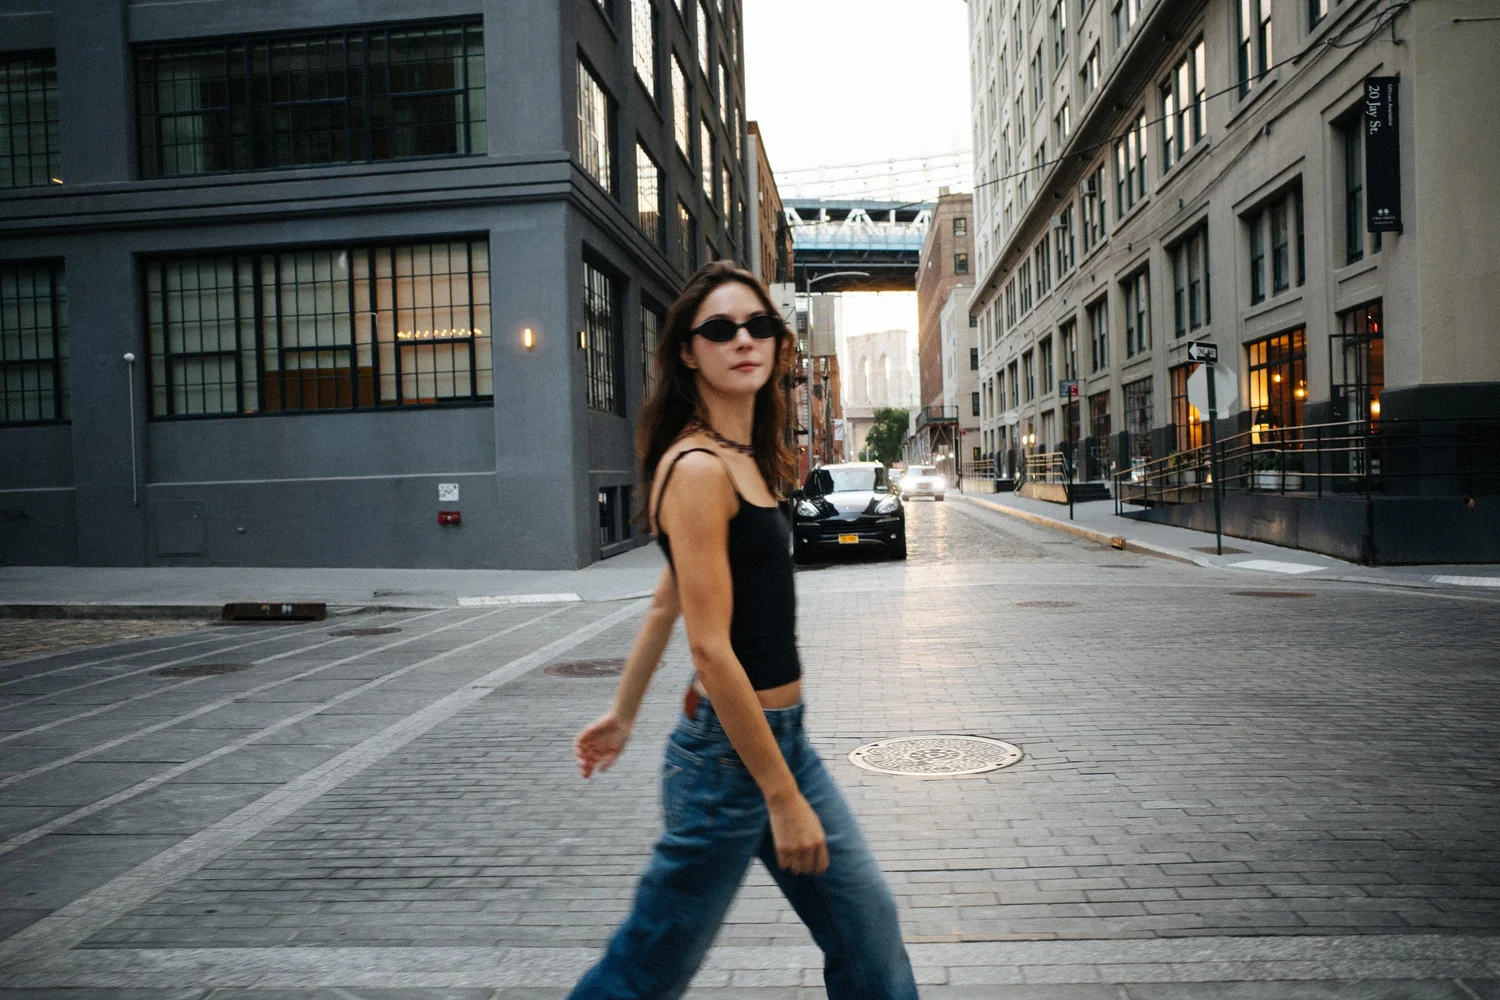
Tara's interior portrait and Amanda's street photograph demonstrate the difference that a setting makes. The chairs provide a contained horizontal composition; the street opens the frame and introduces motion. These examples come from different shoots. For your own content day, plan transitions deliberately. A long journey between several locations can consume the time intended for photographs.
Leave room for the person in the plan
A shot list should make the day clearer, not require you to perform an unfamiliar personality. Start with actions you can repeat comfortably: turning toward the light, sitting, taking a step, looking away and back. Small changes often create more useful variation than a long list of elaborate poses.
Include time to reset clothing and check how the current setup is working. If the plan involves several people, a property or products, identify who is responsible for having everything ready. Confirm access and what the booking includes before building a schedule around assumptions. Any video requirement should be discussed separately so its time and deliverables are clear.
Select a library with a reason for each image
Afterward, organize your favorites by purpose. Keep a few strong options for recurring placements, then identify the frames that support a specific story or announcement. If two images have the same expression, crop and function, choosing both may do little to broaden the library.
Preview images in the website layout and the social crops you intend to use. Keep the delivered master files separate from resized posting copies. My guide to choosing final portrait photos helps compare similar frames, while personal branding photos for creatives explores the visual identity behind the plan. The result should be a set you can use thoughtfully, with enough differences to support several messages without losing a recognizable style.