
How to Write a Commercial Photography Brief
Ready to turn your brief into photographs? Explore my work and session options. Send the project goals, deliverables, usage, and timing so we can discuss a practical plan.
A good photography brief connects the feeling you want with the photographs you need. These images from my portrait work show how to make visual requests specific enough to plan, without dictating every frame.
See what a clear purpose changes
In my NoMakeup clothing project, the goal was fashion imagery that kept the clothes central while expressing the brand through movement, styling, and personality. That is a different brief from photographing a garment only to show its construction. The Danielle Bernard Design campaign puts handbags at the center of the styling and color choices.
Use those projects to describe what your own images must communicate, then specify where they will appear. The example requirements below are planning prompts, not reproductions of either client’s confidential brief.
Name the job before the visual style
Start with one sentence: who needs to see these photographs, and what should they understand? Introducing a creative founder, showing the fit of a clothing collection, and building a performer’s press library are different jobs. If one shoot must cover several uses, rank them so the essential images receive enough time.
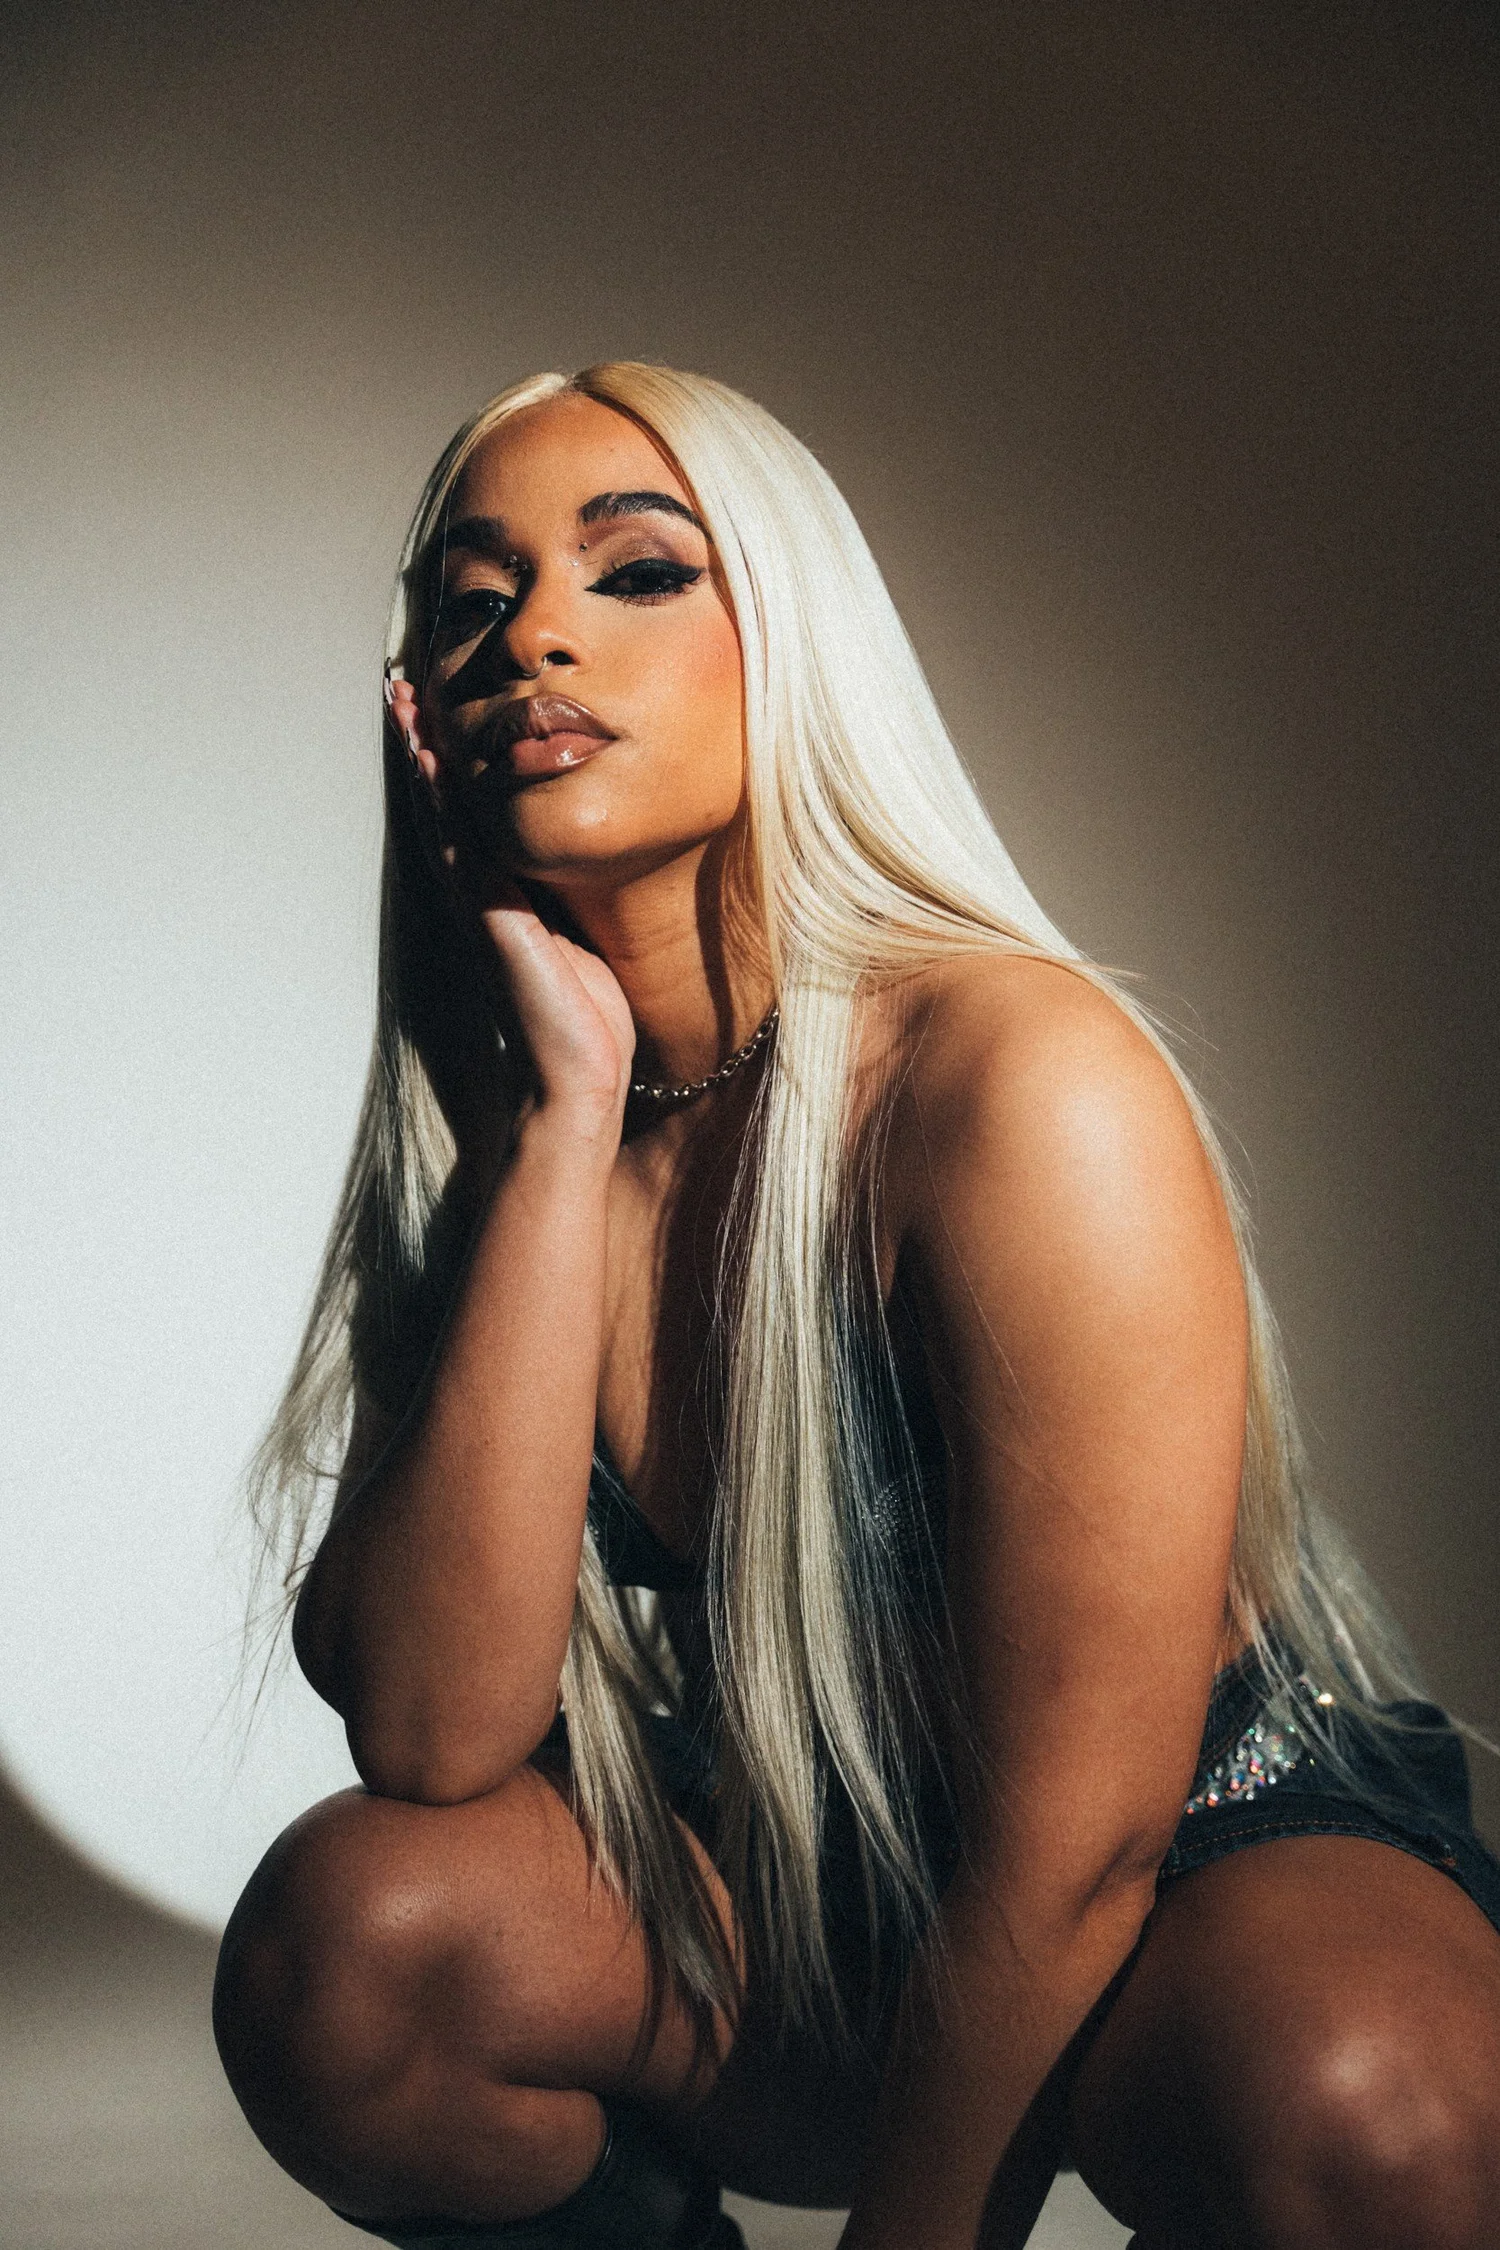
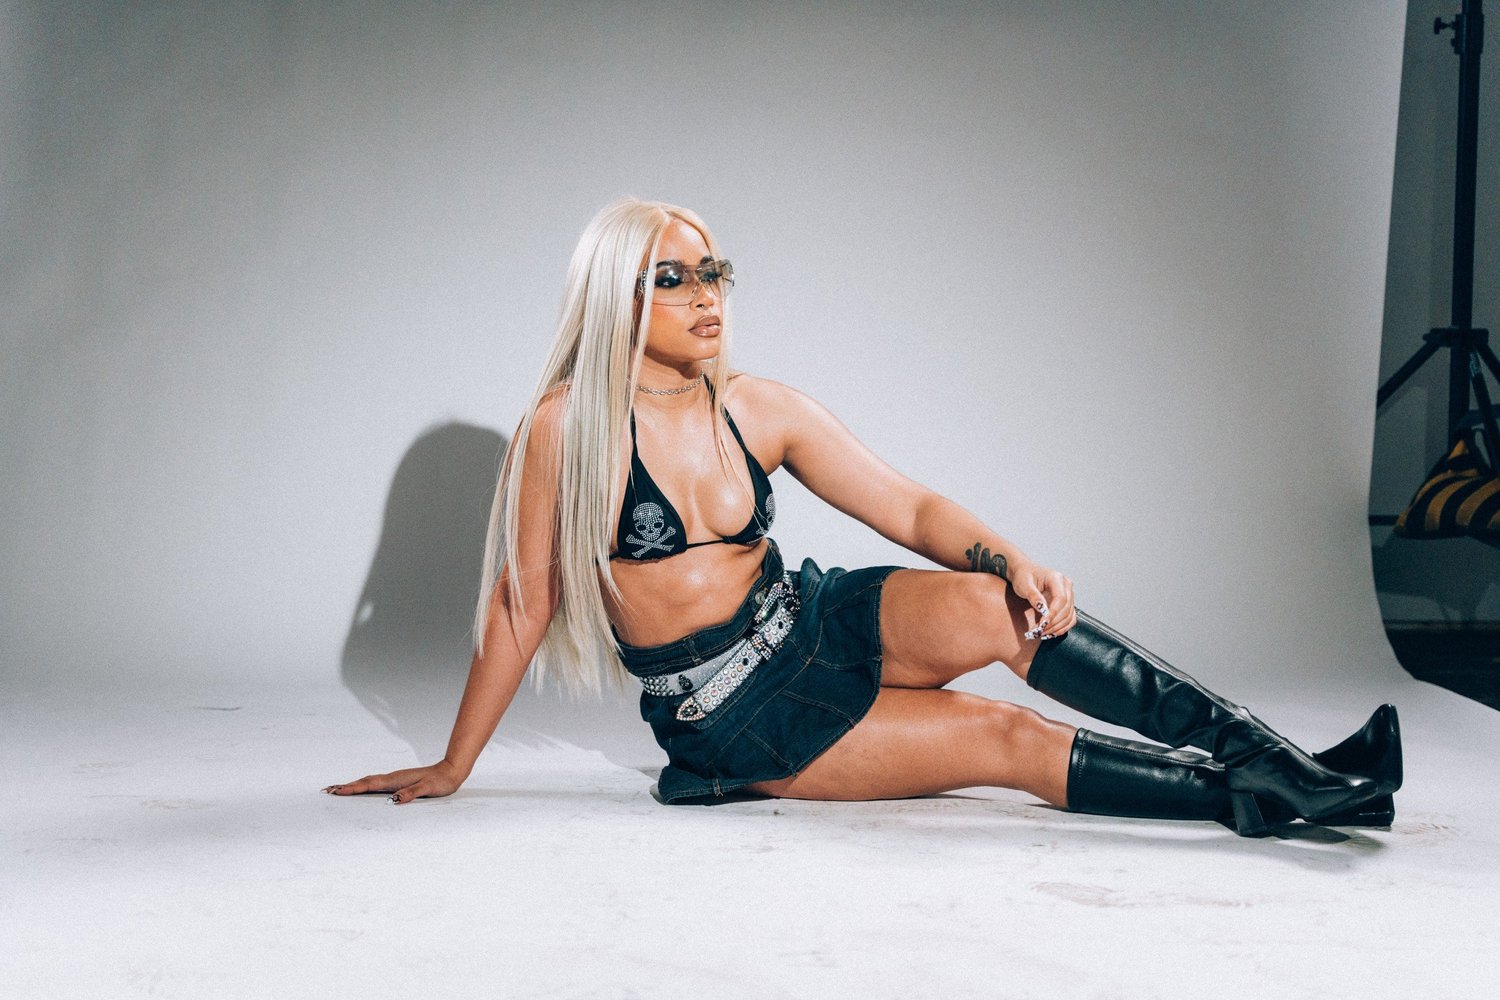
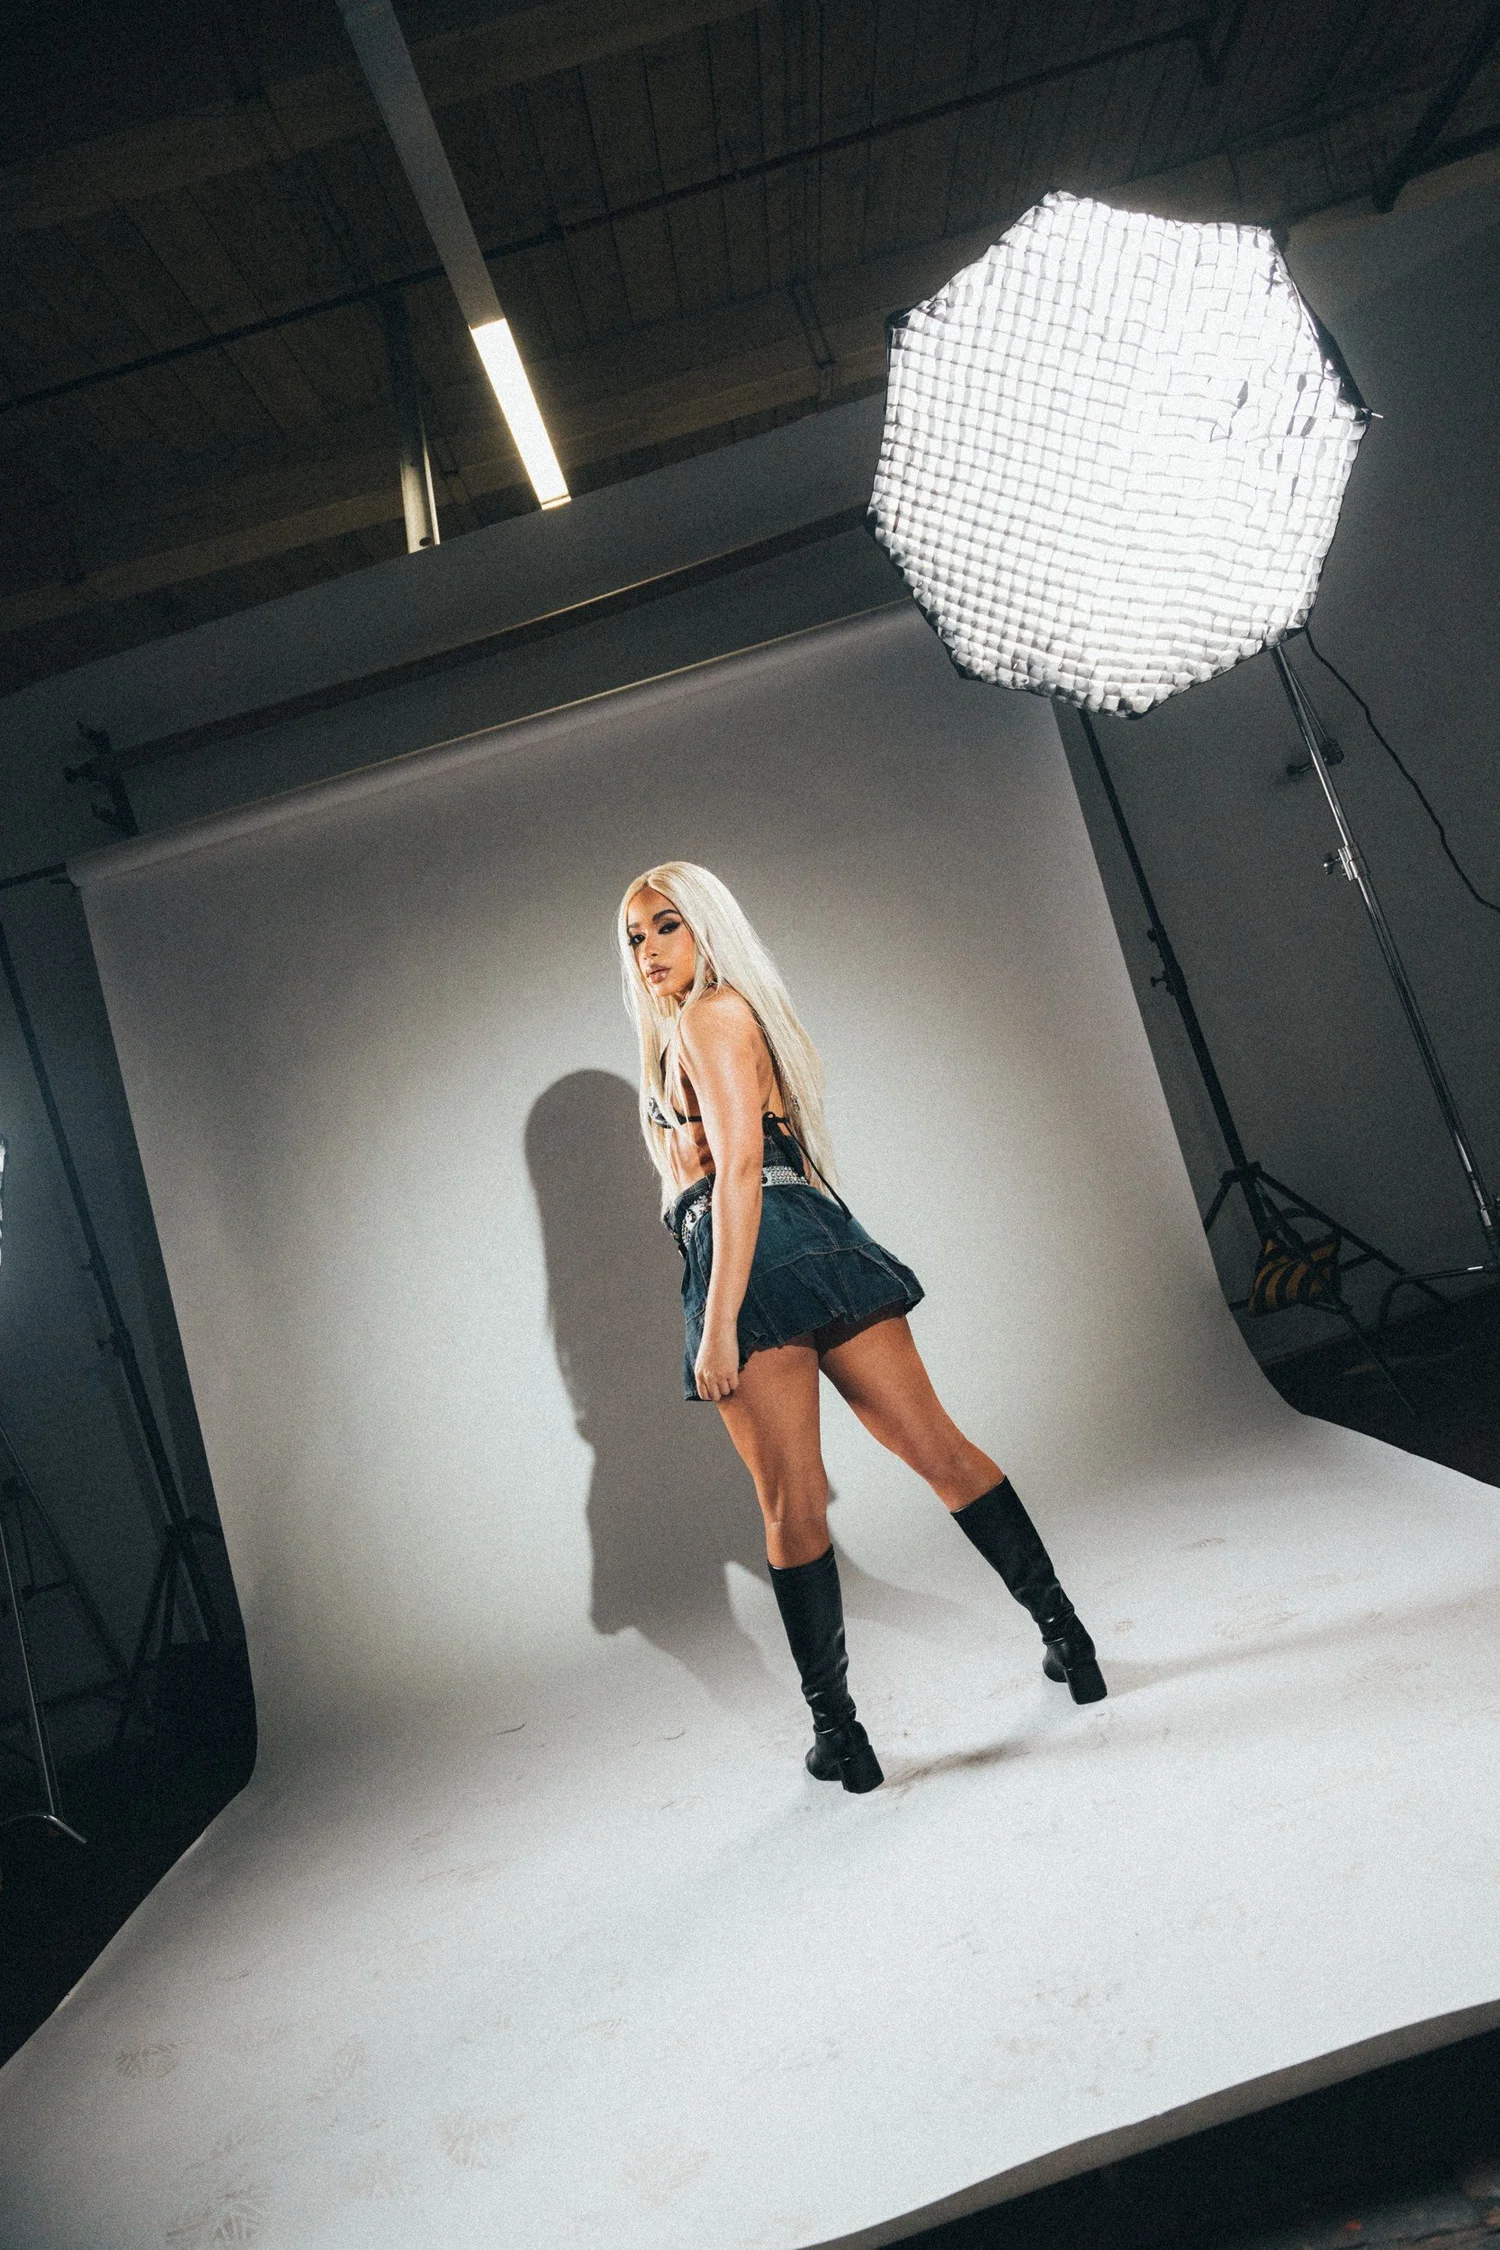
The photographs here are visual examples from my portfolio, not claims about a particular client's campaign or usage. Rose's close portrait and full-length studio image demonstrate two different kinds of information. One emphasizes expression; the other makes styling and the overall silhouette easier to see. A brief should explain which information matters most.
Describe references in plain visual terms
A reference becomes useful when you explain why you chose it. Instead of “cinematic,” describe a dark room, warm background color, a quiet expression, or a person surrounded by space. Instead of “editorial,” point to the framing, styling, movement, or lighting you want to explore. A small group of coherent references is easier to interpret than a large board of conflicting looks.
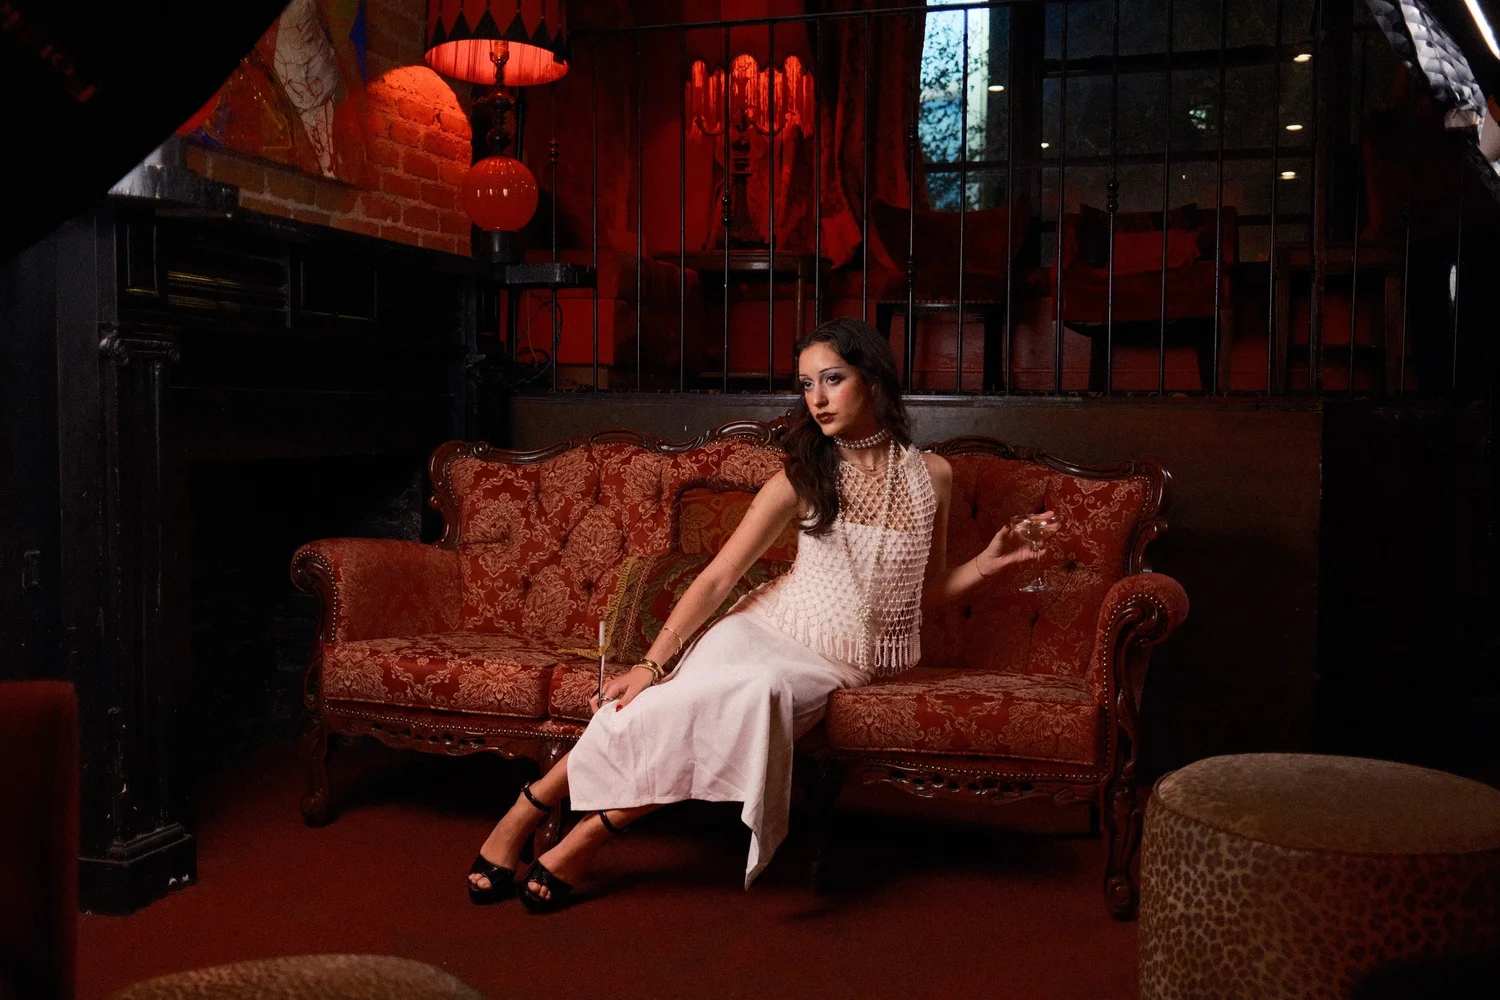
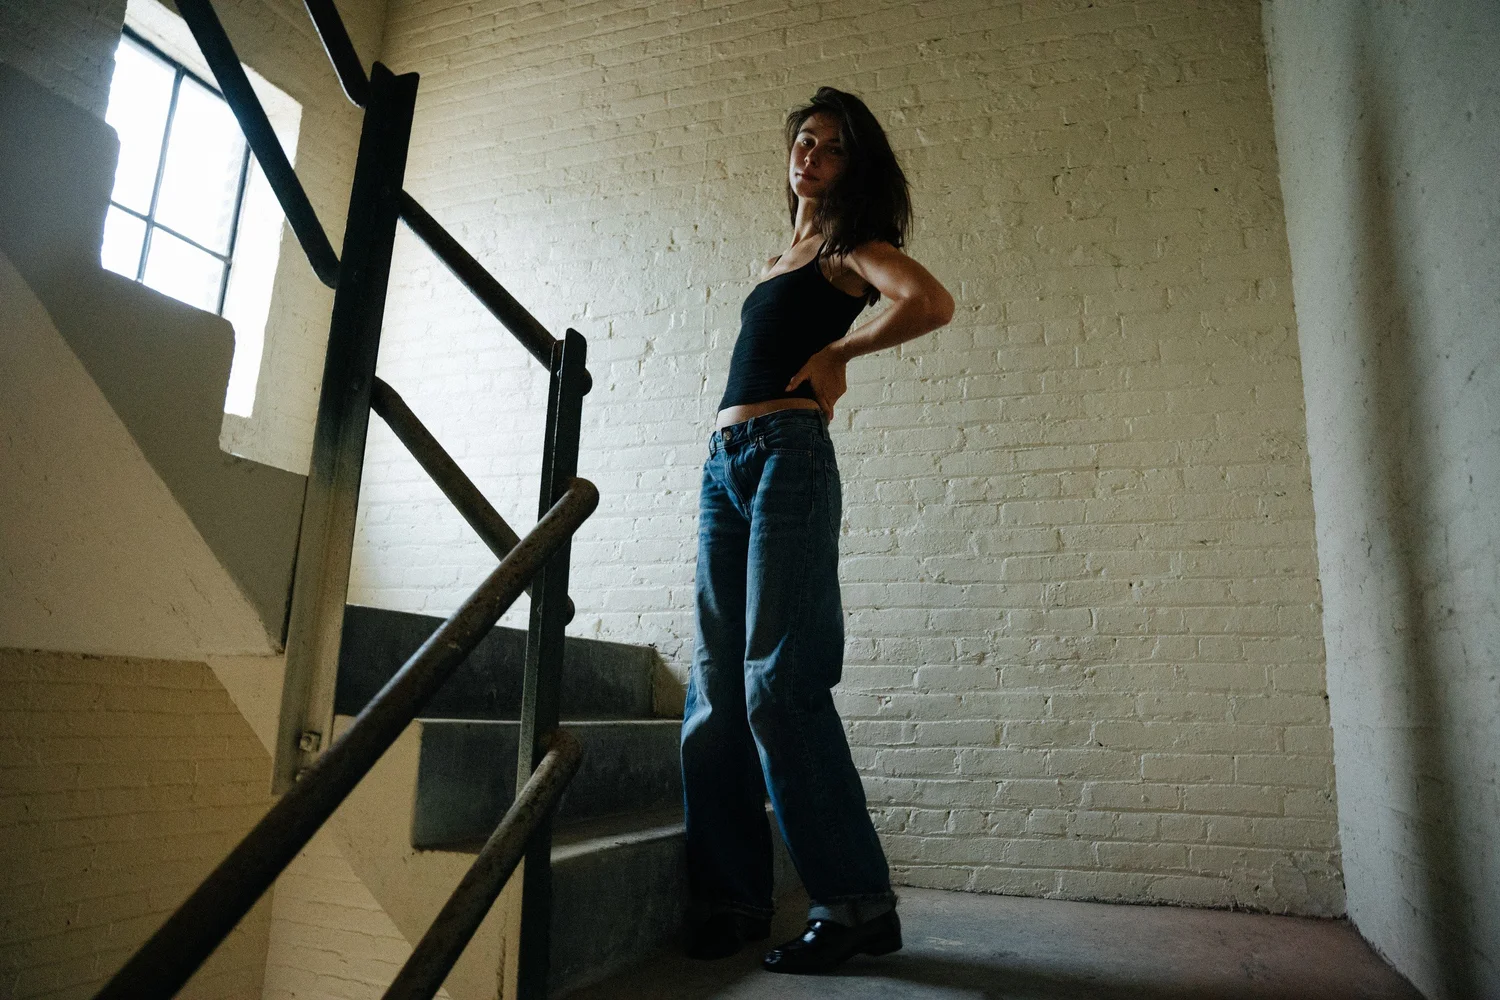
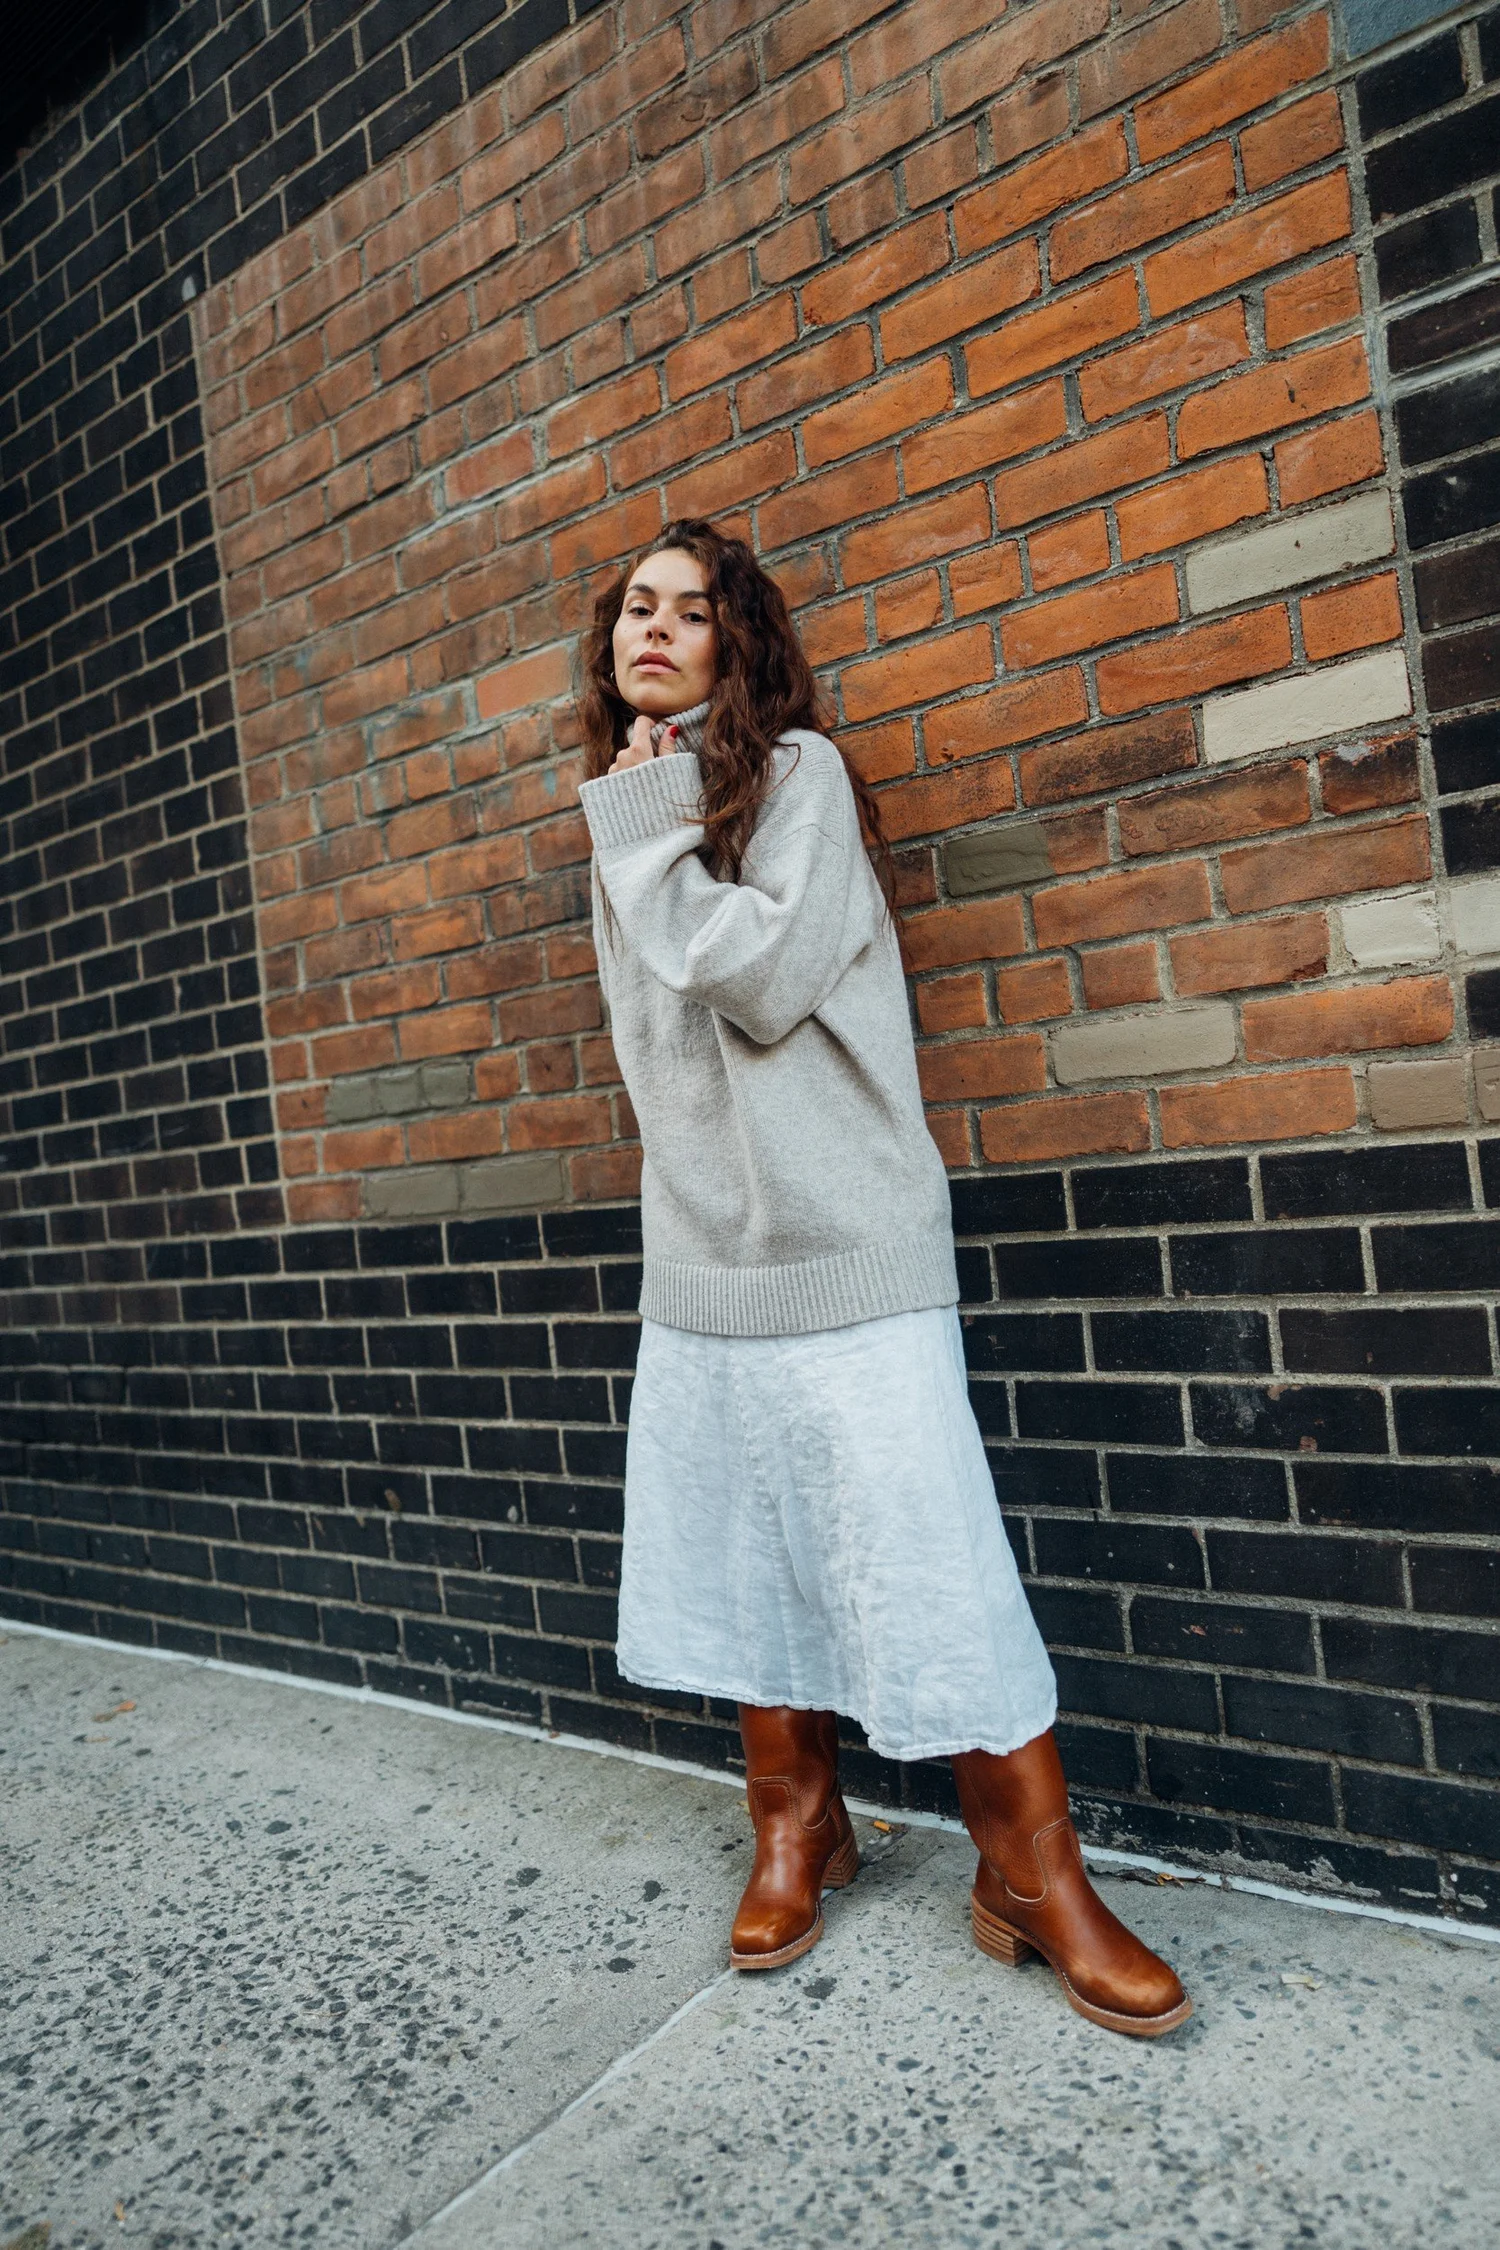
Eden's red interior and Amanda's pale stairwell suggest very different directions. One surrounds the person with warm color and decorative detail; the other uses railings, brick, and window light. Both can support a strong portrait. Your brief should say what those surroundings contribute to your message and what you want to avoid.
List placements and the shapes they require
Write down where each image will appear: a website banner, square profile, press page, social post, brochure, or print. Include known dimensions or aspect ratios and explain whether text needs to sit inside the image. A wide photograph does not automatically provide usable copy space; the background must remain readable behind the words.
Marley's full-length frame and Johnny's close portrait show why “a few photos for the website” leaves too much unresolved. The former includes clothing and setting; the latter concentrates on the face. Plan separate compositions when one crop cannot do both jobs. The final portrait selection guide can help you think ahead to delivery.

Separate essentials from experiments
Keep the priority shot list short enough to recognize at a glance. Give each essential photograph a subject, purpose, orientation, and any non-negotiable detail. Then add a smaller space for exploration. This makes it possible to try a stronger idea without losing track of the work the shoot must deliver.
A useful example might be: “One clear, current portrait for the speaker biography; one horizontal environmental portrait for the about page; one full-length image showing the complete outfit.” If the product label, neckline, or a particular object must be visible, state that. Do not assume a mood board communicates production requirements.
Make the production details visible
Confirm the date, working location, access, participants, wardrobe, and who approves the images. Say who is responsible for products, styling, hair and makeup, and getting the space ready when those elements apply. A studio setup such as Rose's needs room for equipment and movement. A street frame such as Amanda's introduces changing light and people passing through.
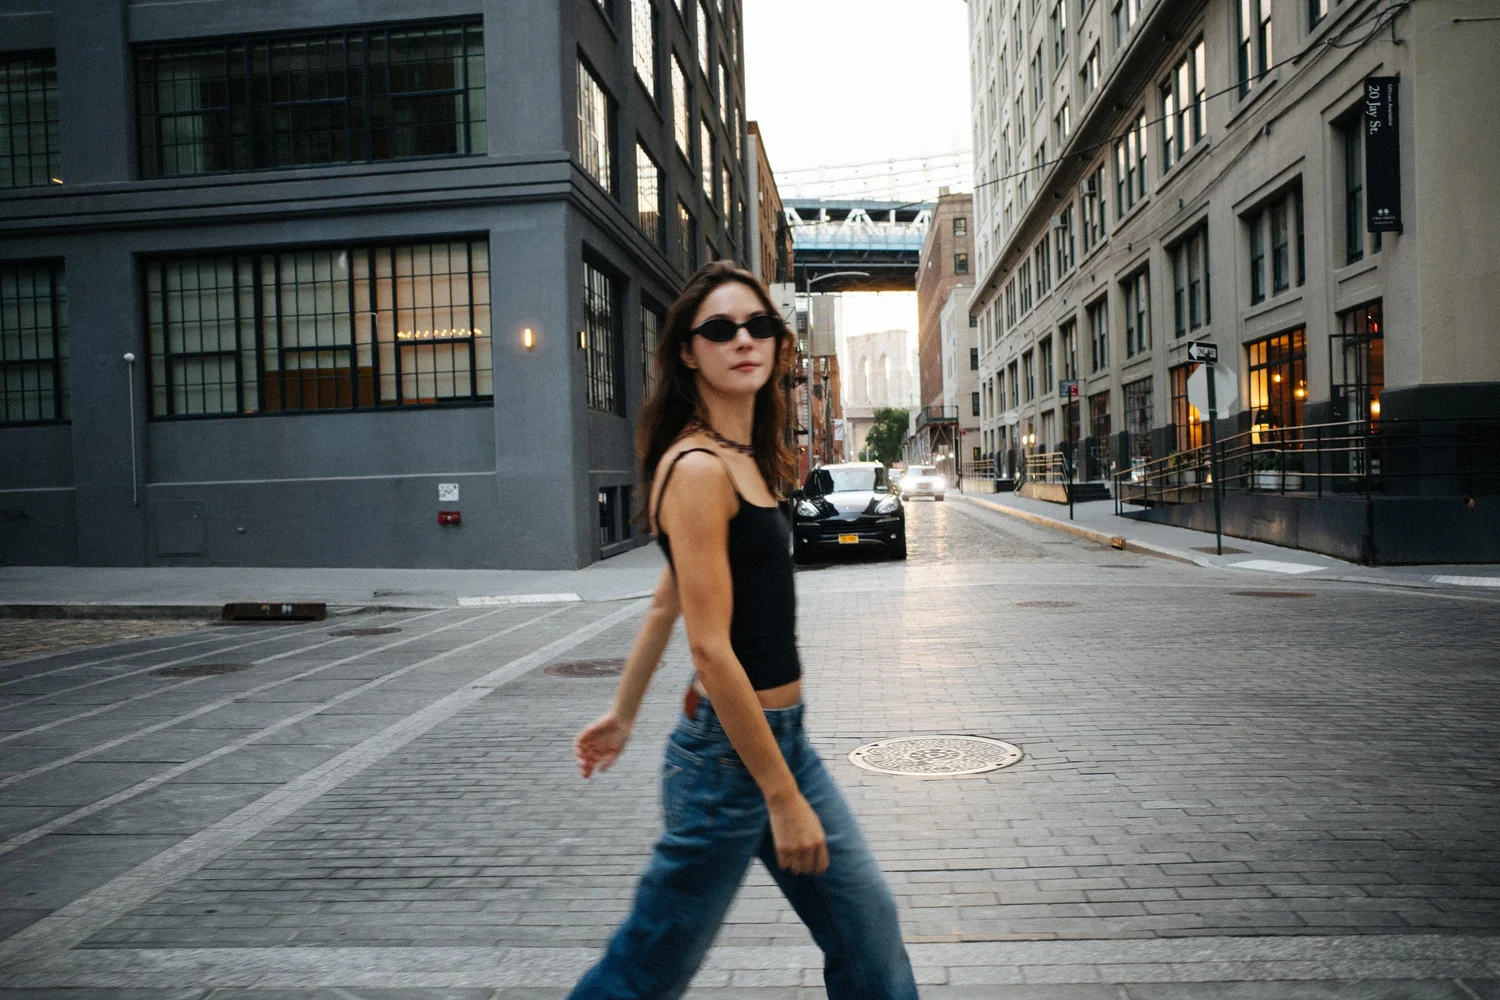
Build the schedule around the photographs rather than a long list of destinations. Travel, outfit changes, and setting up light all take time. If the location is still open, the studio versus location guide can help identify which conditions suit the brief. Ask about access and any permissions needed for the proposed production.
Agree on delivery and intended use
Include the deadline, approximate selection needs, editing expectations, and export formats. Explain where and how you intend to use the images, including any advertising or third-party use, so the scope can be agreed in writing. Discuss changes to that scope with the photographer. This is part of making an accurate project plan, not a detail to leave until files arrive.
For a project built around one person's identity, the personal branding guide goes deeper into balancing useful assets with a distinctive point of view. A commercial brief should give the photographer enough context to make creative decisions that serve the work.
A brief you can send with your inquiry
- Purpose and audience: What are you communicating, and to whom?
- Priority images: Which photographs are essential?
- Placements: Where will they appear, in which shapes?
- Visual direction: Which references matter, and why?
- Production: Date, location, people, wardrobe, products, and responsibilities.
- Delivery and use: Deadline, selection, editing, file needs, and intended distribution.
- Open questions: What would you like me to recommend?
A rough brief is enough to start a useful conversation. Clear priorities matter more than polished presentation.