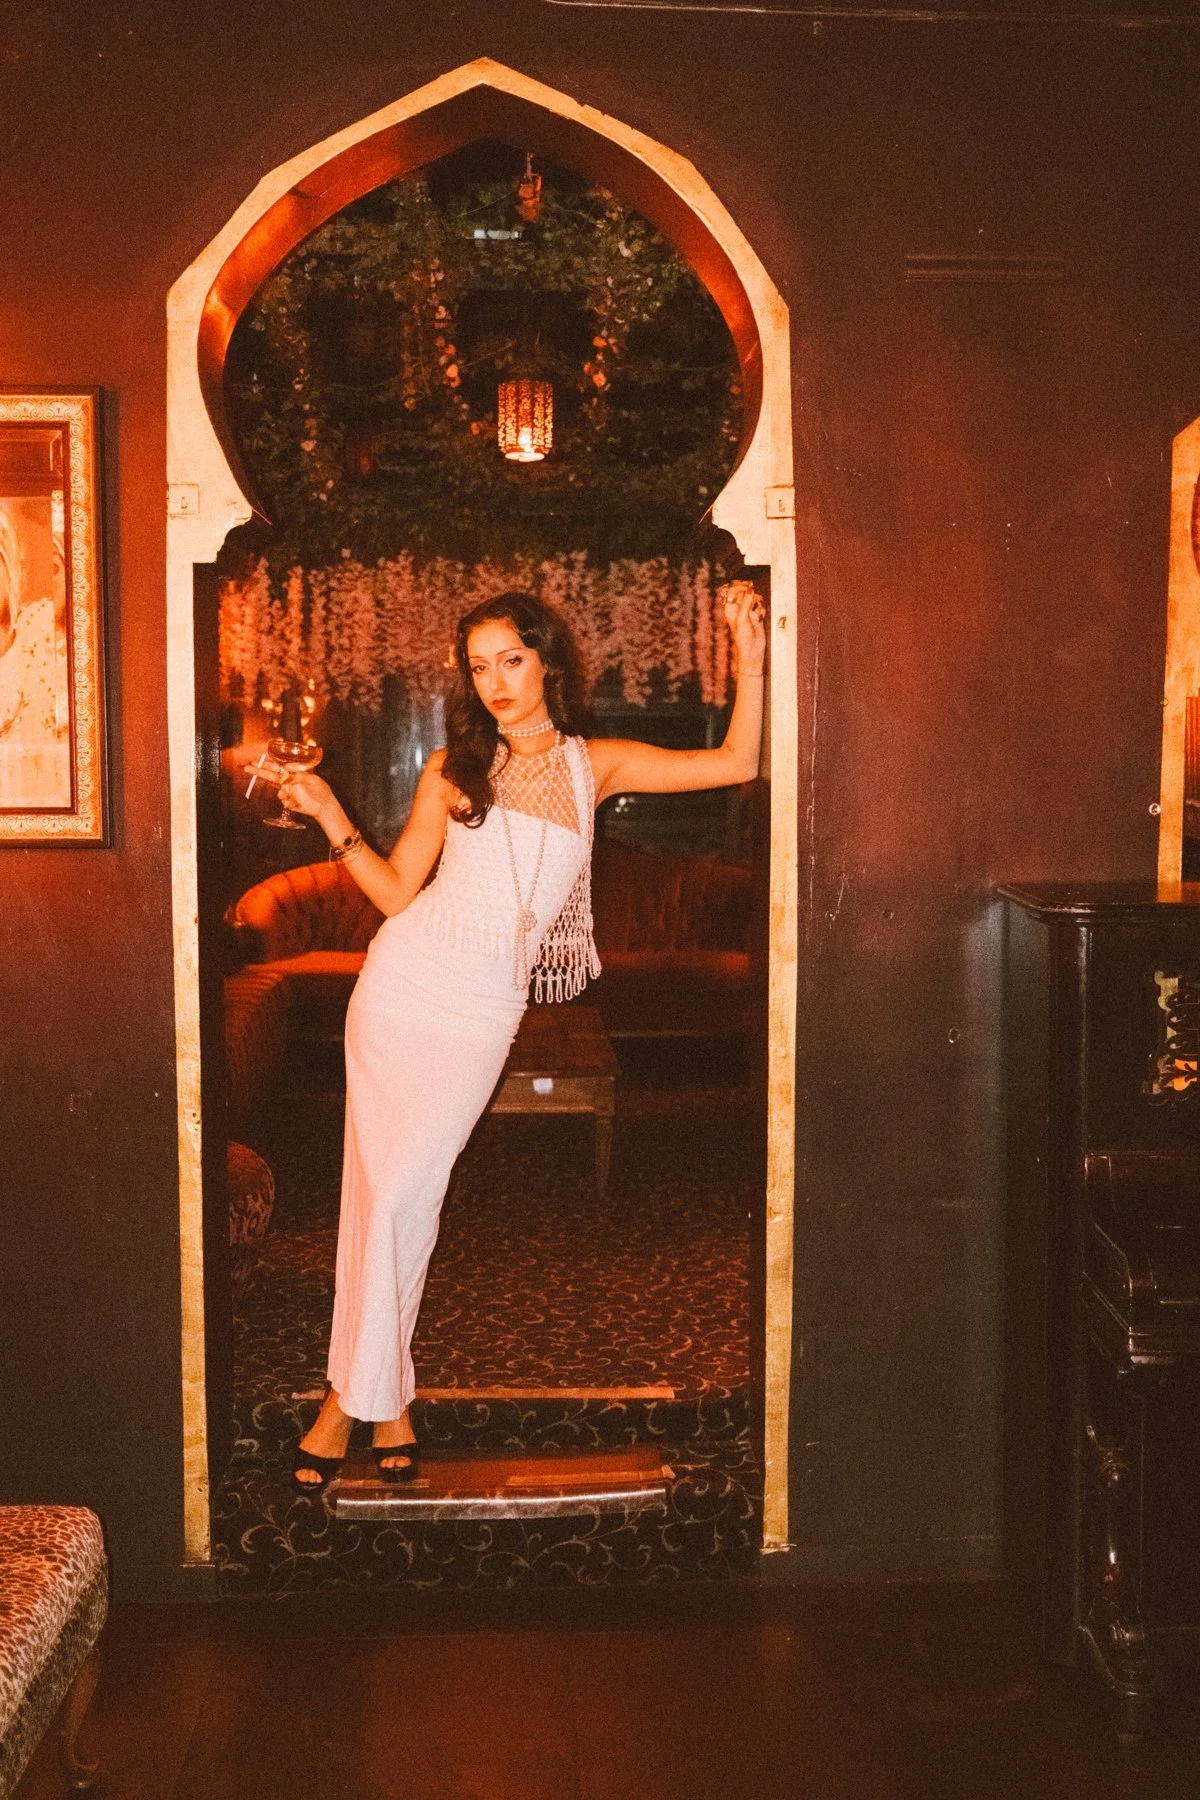
Planning a Fashion Lookbook Shoot in NYC
Preparing a collection for its next audience? Explore my work and session options. Share the collection, intended image use, shot-list needs, and launch date.
A fashion lookbook needs a visual point of view and enough clarity to show the clothes. Before choosing a NYC backdrop, decide what someone should understand about the collection after looking through the photographs.
For complete brand projects, see NoMakeup, where clothing, movement, and personality share the frame, and Danielle Bernard Design, where handbags lead the color and styling. They show how a collection can have a recognizable visual identity across several photographs.
Separate garment coverage from the mood images
Start by identifying what the lookbook must explain. Are you introducing a small collection, presenting styling ideas, approaching stockists, or building a campaign page? Each use changes the balance between straightforward coverage and atmospheric portraits.
A useful plan often includes a clean view of each complete look, selected back or side views, and details that matter to the design. Then add photographs with movement, unusual framing, or a stronger setting. The images in this article are portfolio references for silhouette, texture, and styling; they are not presented as a single commissioned collection. The distinction helps you choose what to borrow visually without copying the entire shoot.
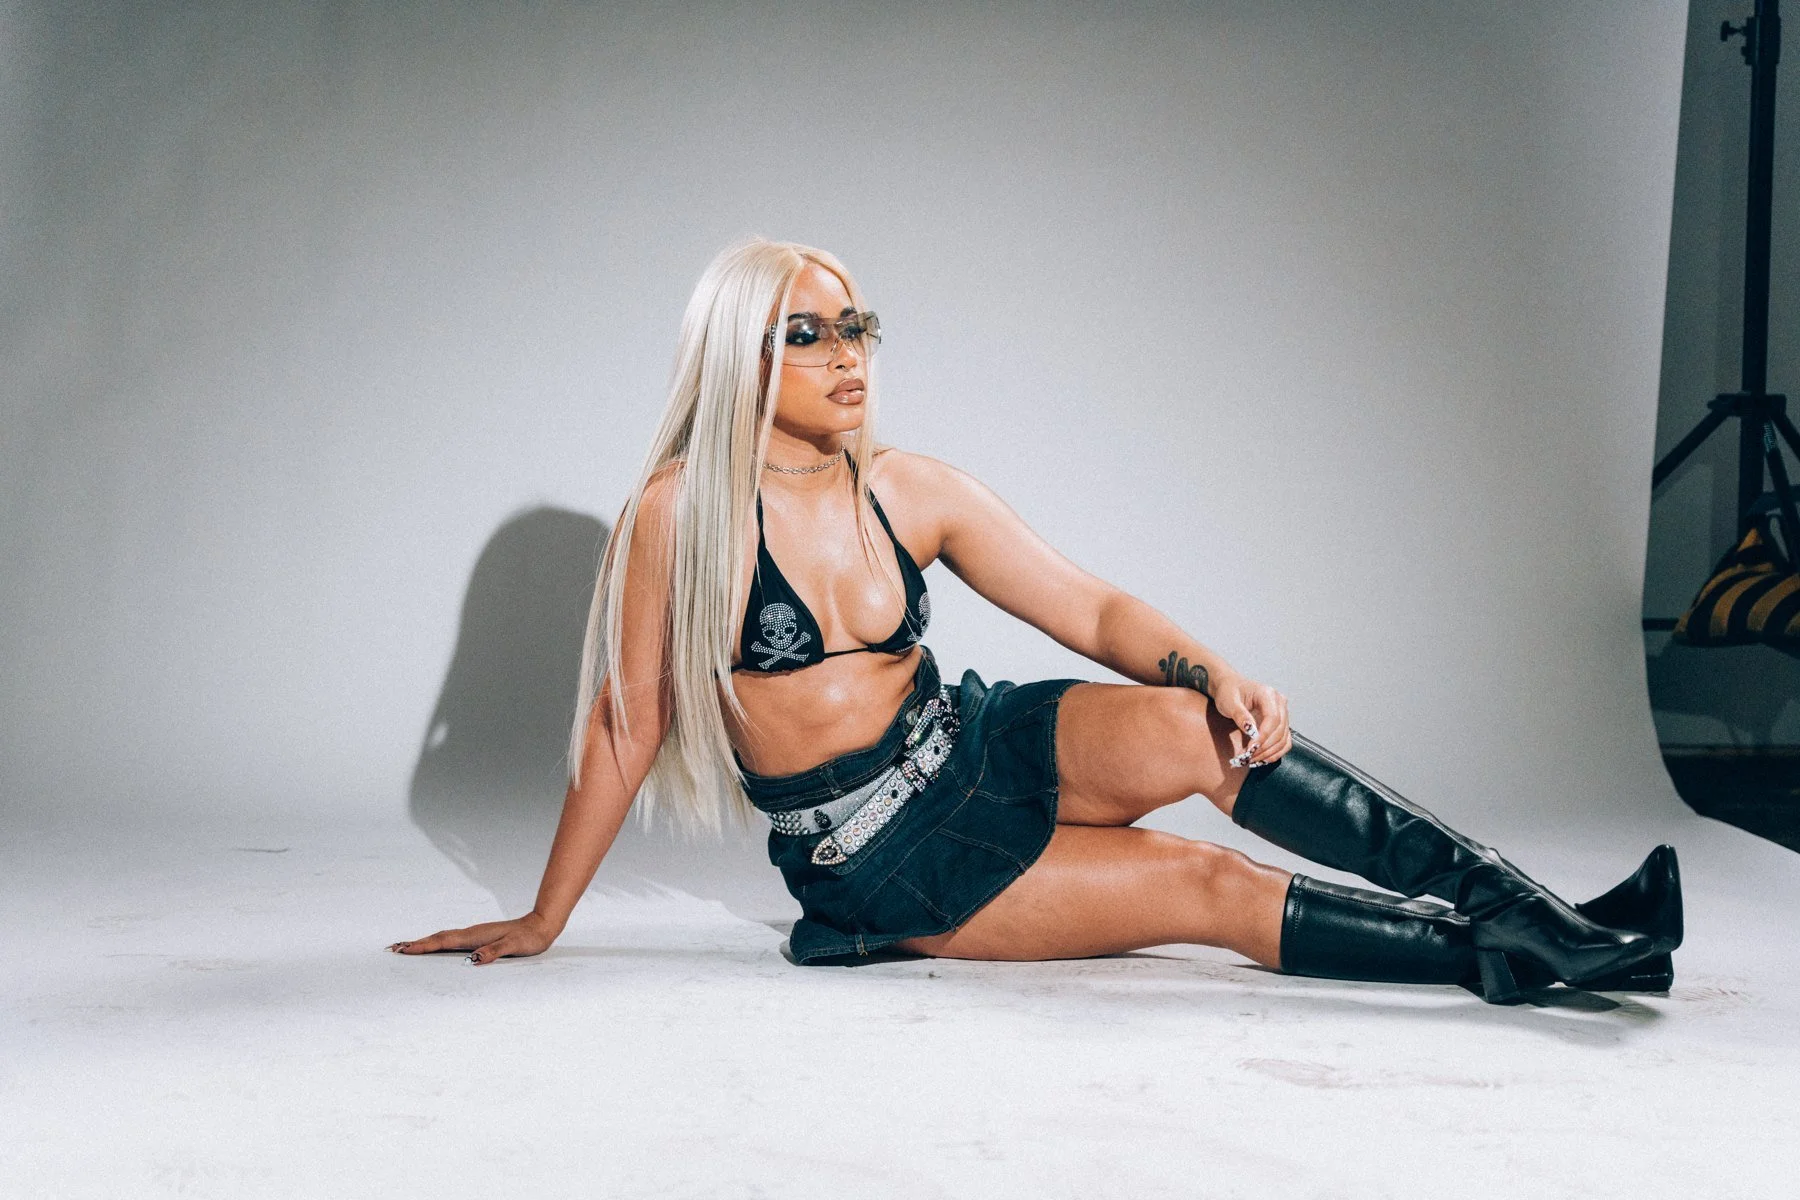
Create a garment list that someone else can follow
Give each look a simple name or number, and list every piece that belongs with it. Include shoes, accessories, underlayers, and any styling detail that cannot be substituted. A quick phone photograph of the complete outfit can prevent confusion once bags and hangers are open.
Mark the essential looks and the optional ones. A sample arriving late, an awkward fit, or a missing accessory should not derail the entire sequence. Share the number of looks before the session is quoted, along with the people involved and whether hair, makeup, or styling support is being arranged. More garments mean more than extra shutter clicks: changing, steaming, checking, and resetting all take attention.
Choose a setting that supports the clothes
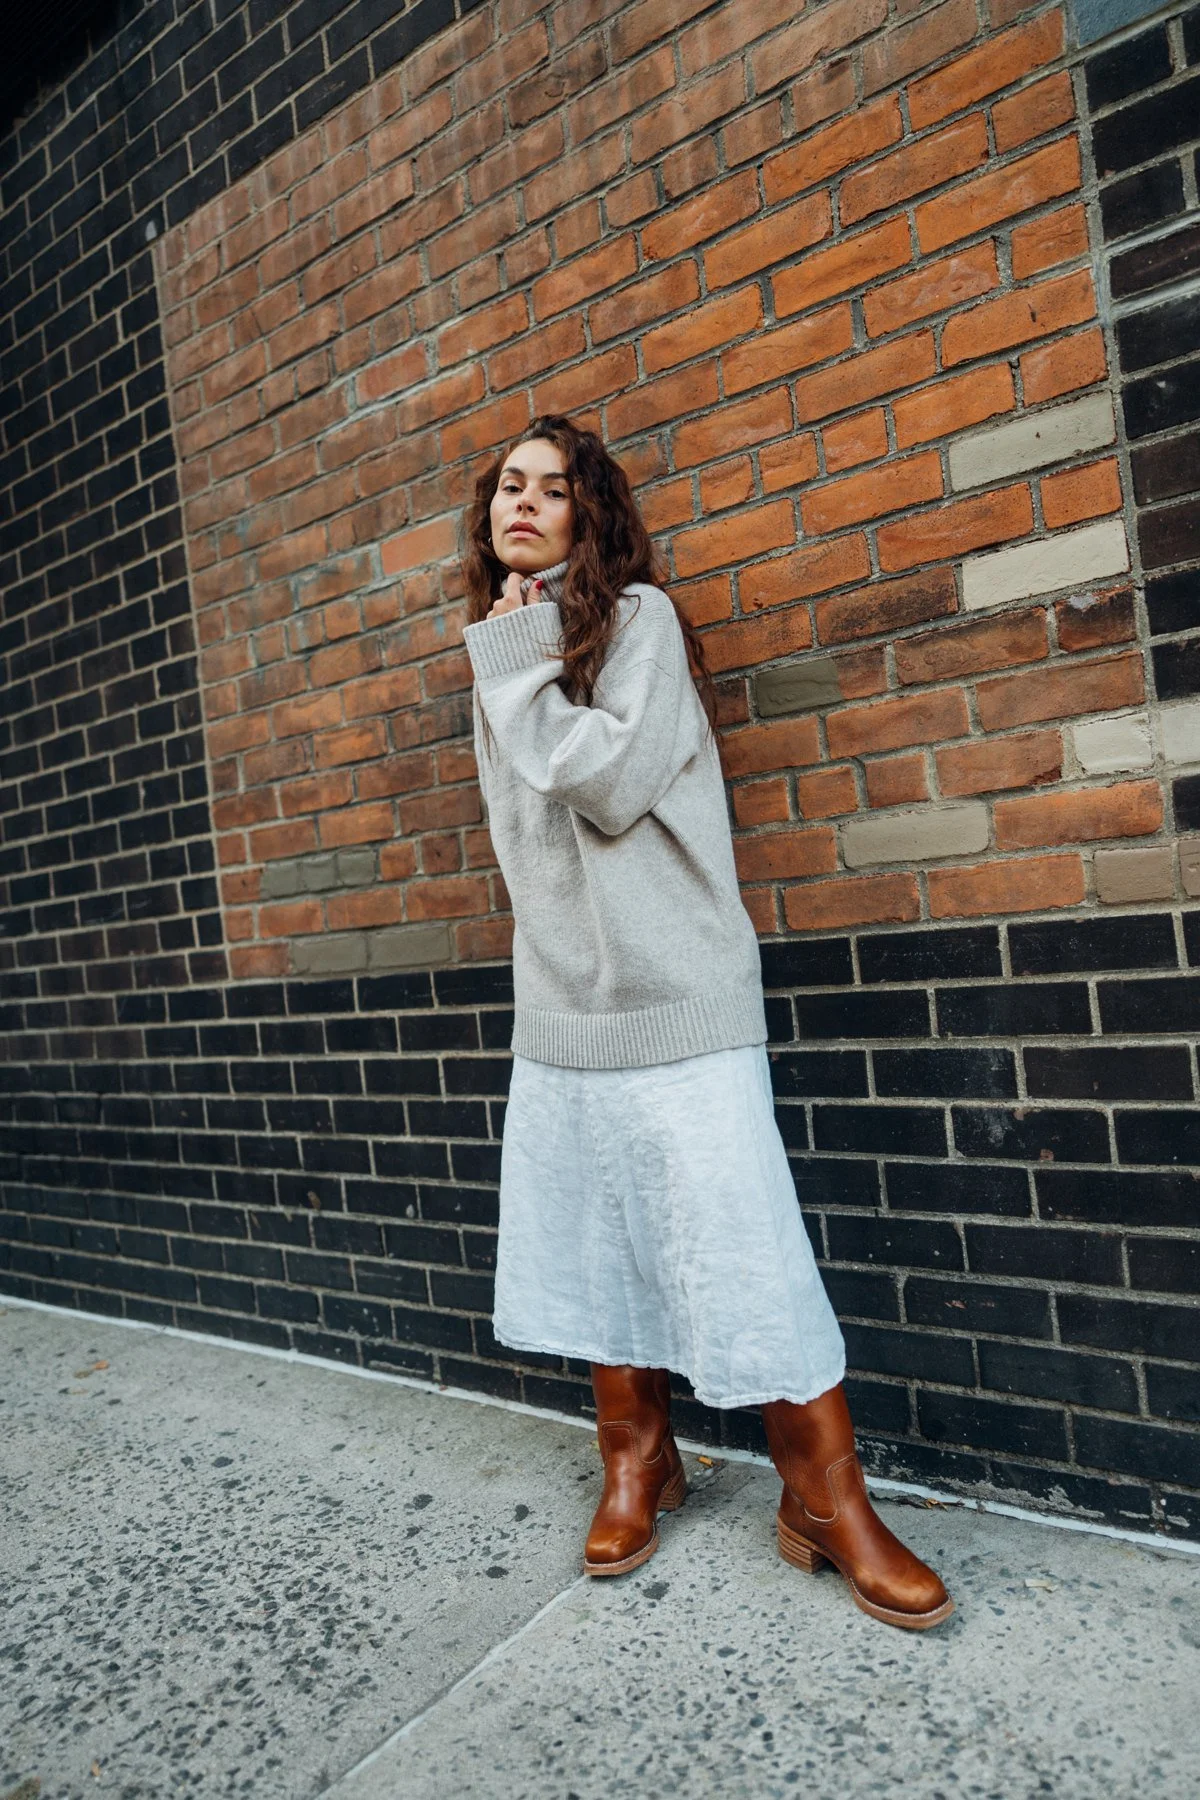
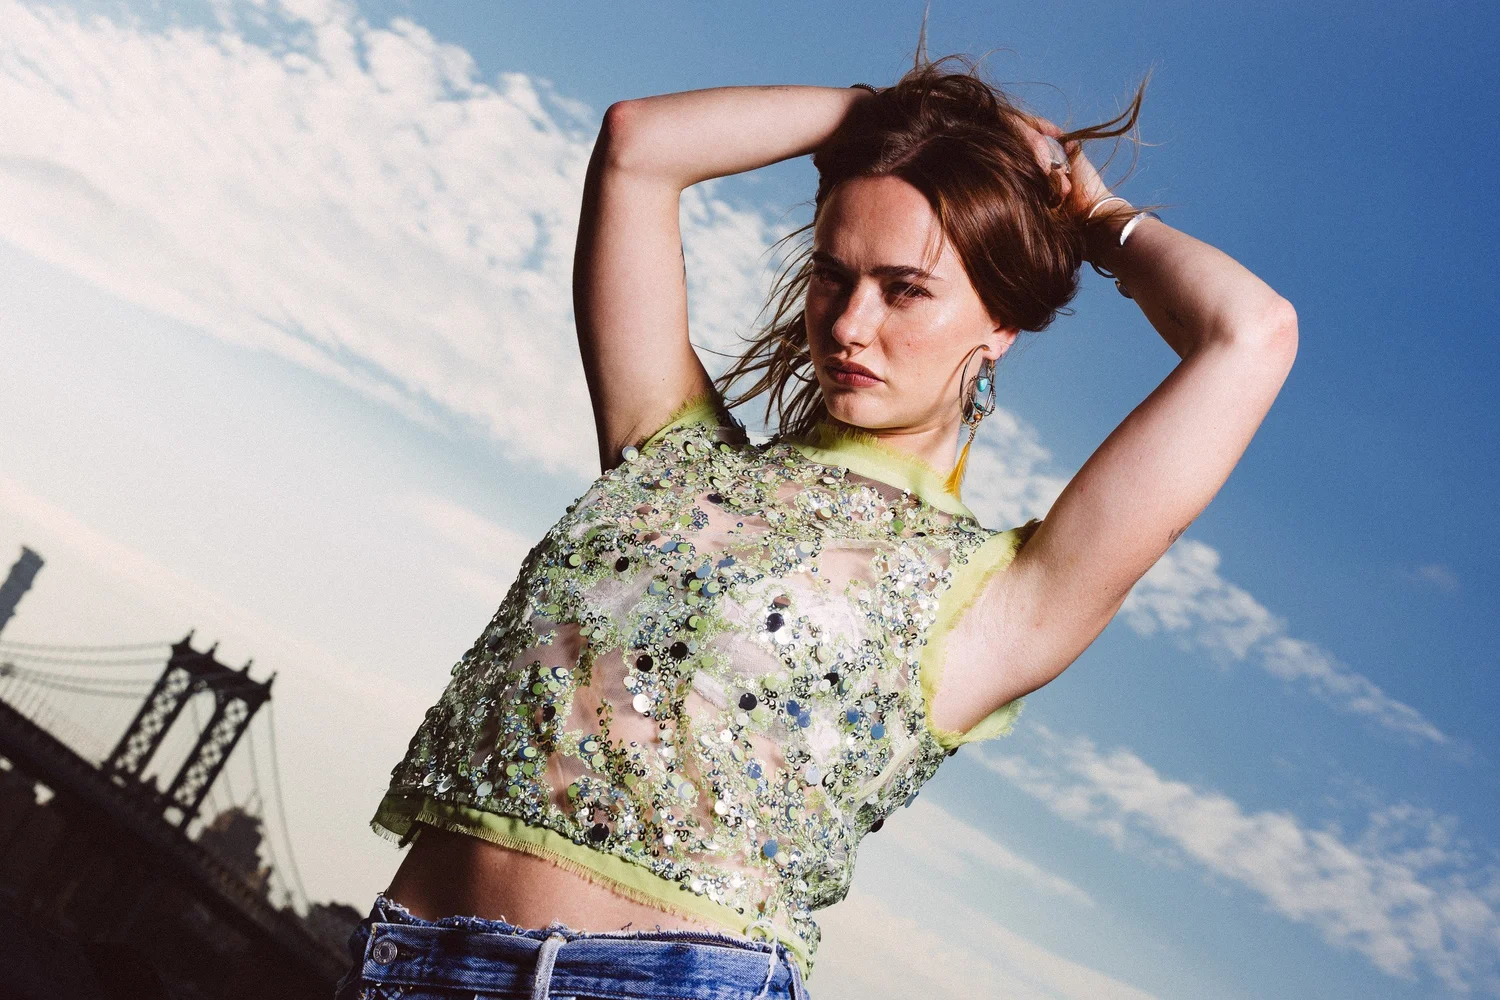
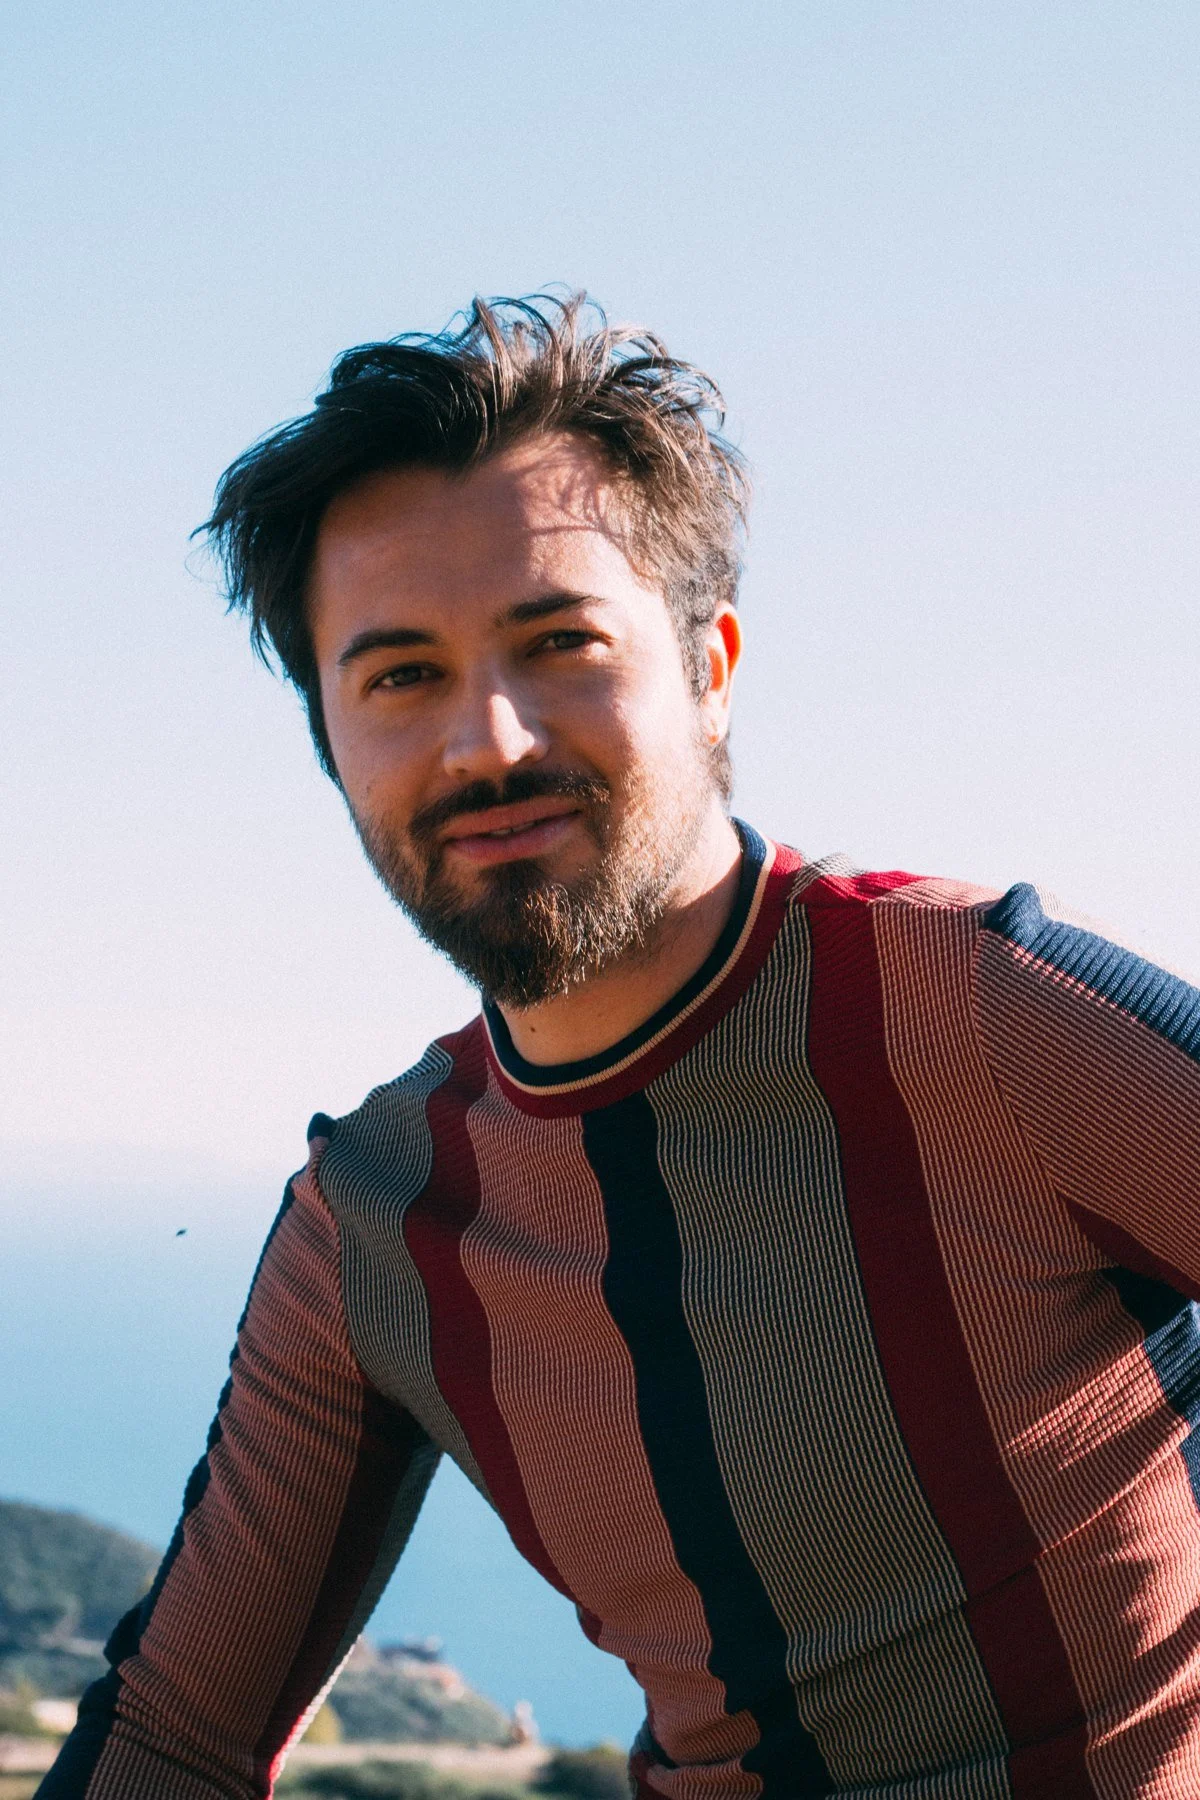
A location can add character, but it can also compete with a print or make a dark garment disappear. Compare the clothing against a few possible background colors before choosing a route. Marley’s brick backdrop supplies texture, while the open sky behind Johnny lets the detailed top remain clear. Compare both approaches with the clothes you actually need to show.
For a street-based NYC lookbook, keep the route compact and identify a realistic changing arrangement. A bathroom or business is not automatically available for production use. If the concept needs privacy, controlled lighting, or a stable background, discuss a suitable interior separately. My studio versus location portrait guide helps frame that choice without assuming a studio is included.
Plan consistency before adding variety
When several outfits will sit together on a page, repeat a few decisions: camera height, approximate subject size, background treatment, and how much of the body appears. Consistency makes the collection easier to read and gives the designer a dependable rhythm.
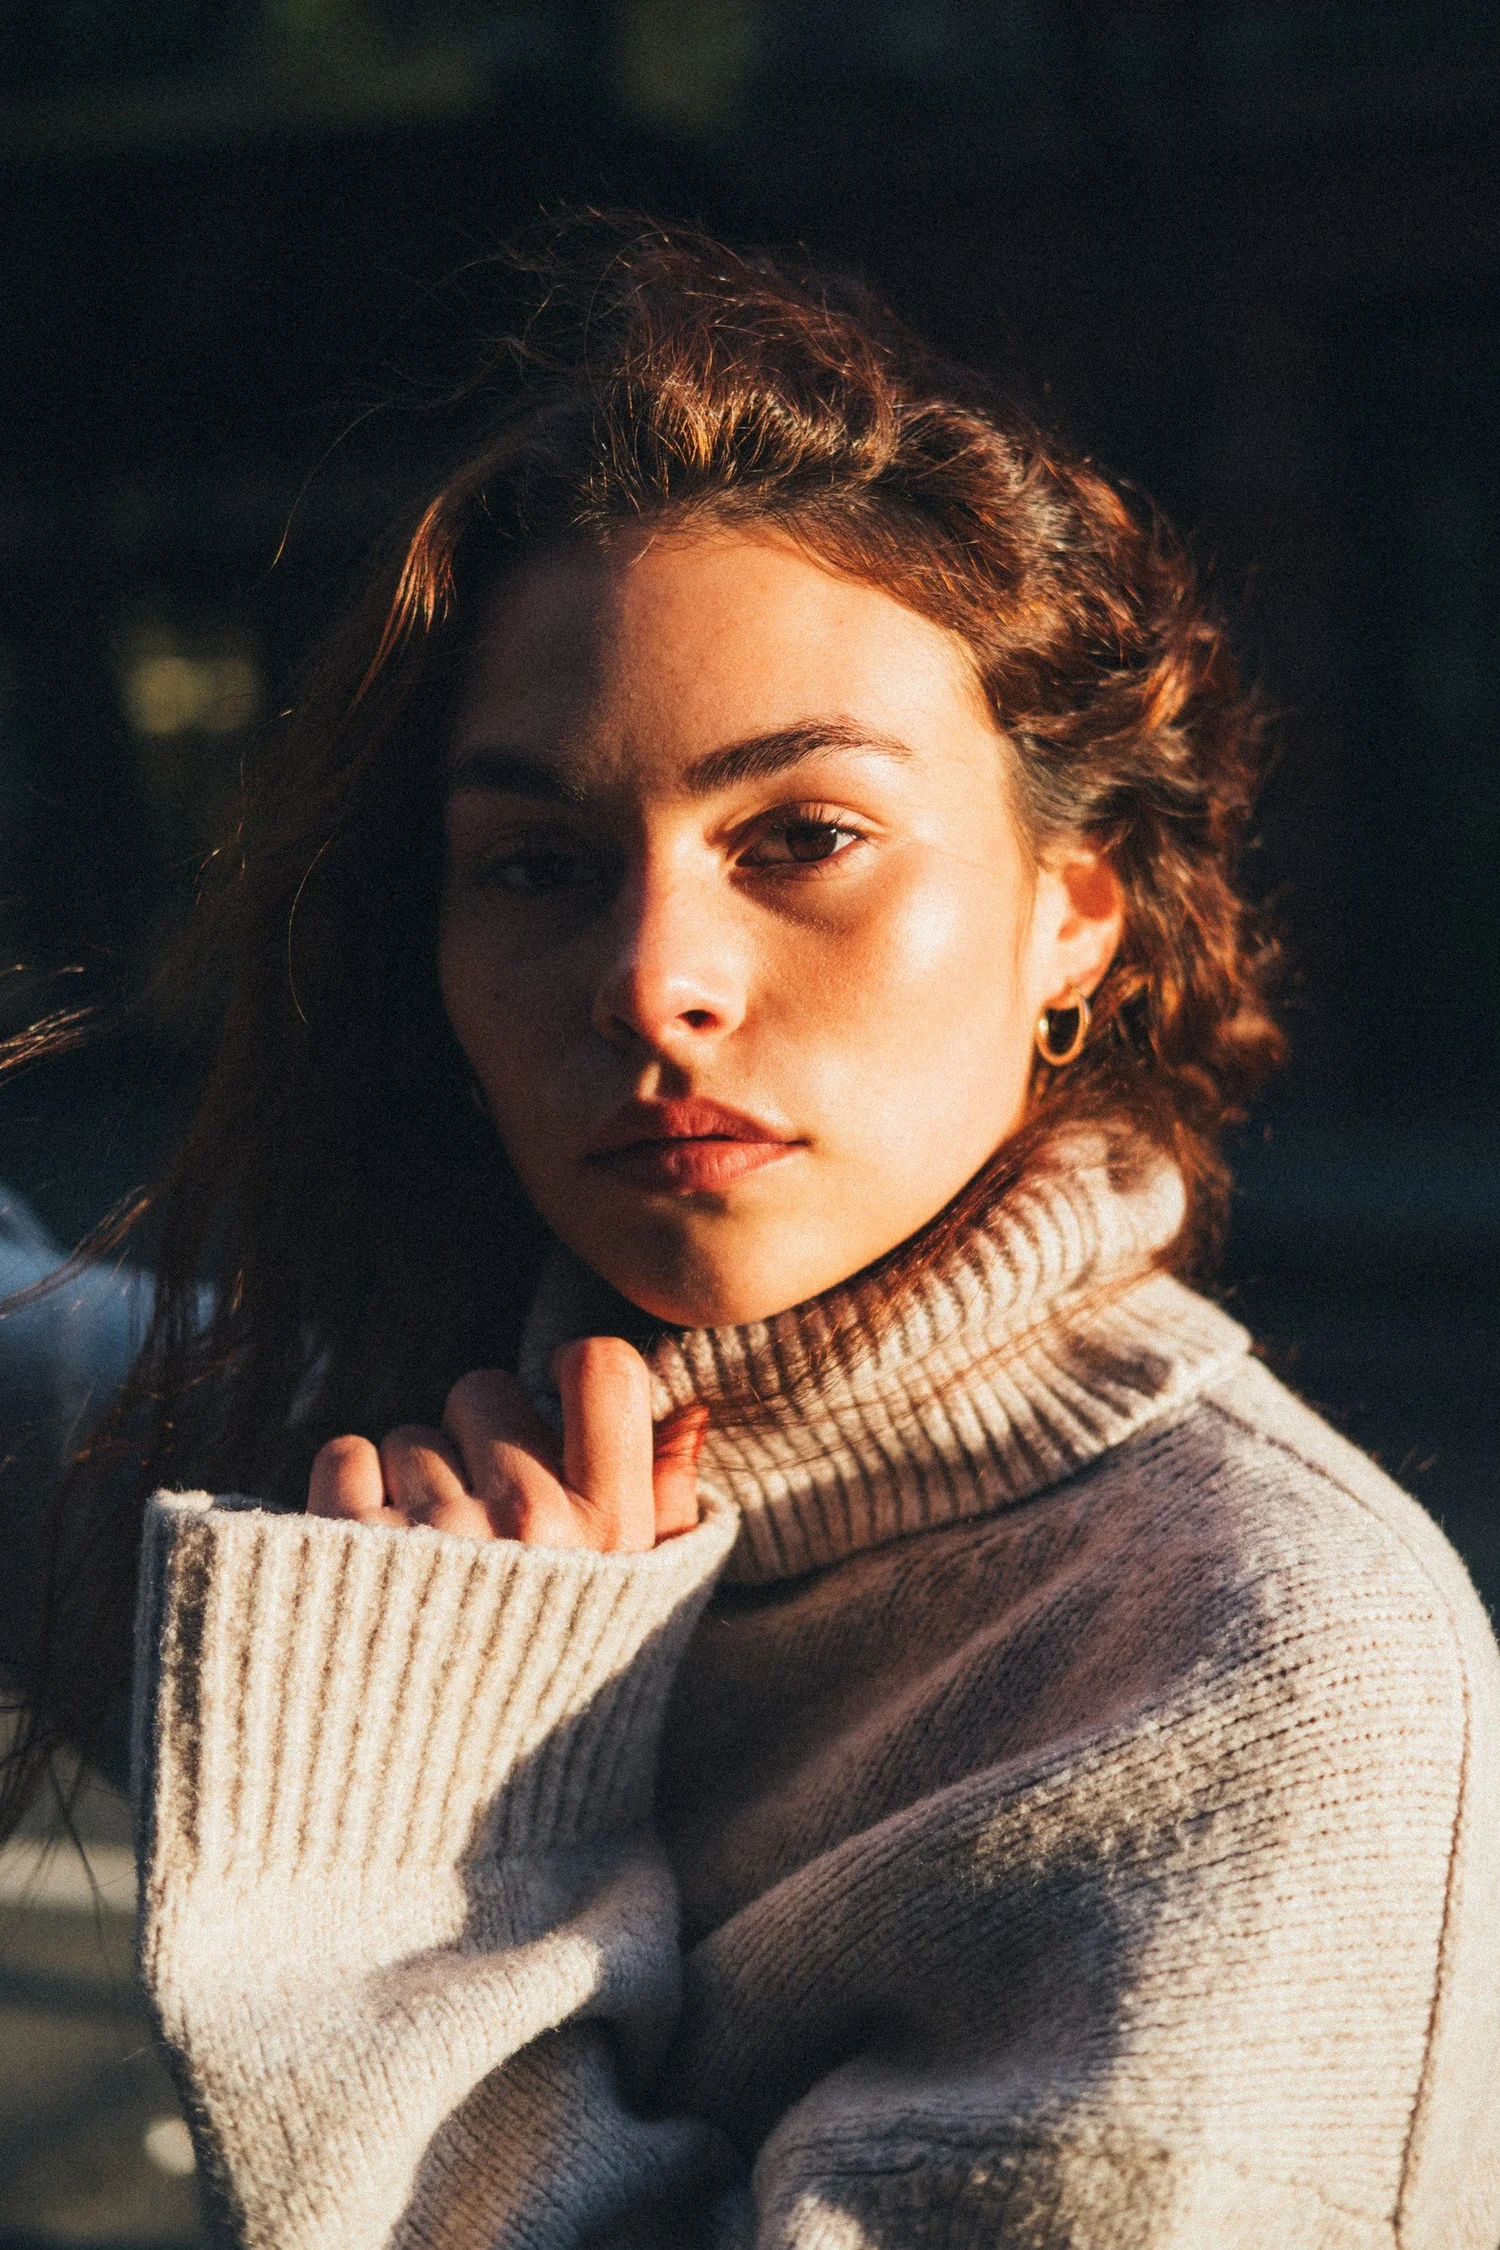
That does not mean every photograph needs the same pose. A front view can establish the garment, while a walking frame reveals movement and a closer photograph shows a fastening, sleeve, or fabric. Compare the complete view of Marley’s outfit with the close sweater portrait: the two pictures answer different questions about the same clothes. For a lookbook, decide whether that variation belongs throughout the collection or only in a few opening images.
Write down where the pictures will appear
A website banner, product-adjacent gallery, printed booklet, and social post each need different space and proportions. Share the intended channels and any required dimensions before the shoot. If a layout needs text beside the model, make that part of the composition rather than an emergency crop later.
Also discuss the intended usage and who needs access to the finished photographs. Do not assume a portrait booking automatically defines every commercial use or every third-party permission. The commercial photography brief guide provides a useful starting point for describing the audience, deliverables, approvals, and responsibilities in one place.
Build a manageable session order
Begin with a complete look that is ready and comfortable. Group outfits by shared shoes, hair, makeup, or background so the team can work without unnecessary resets. Put the essential garments early enough that they are not dependent on the final few minutes of light.
Before the day, check every item for fit, labels, creases, and transparency under the planned lighting. Pack a small styling kit and decide who is responsible for adjustments. During selection, look at the photographs as a sequence: does each garment read clearly, do the strongest images belong together, and is any essential view missing? A focused lookbook feels considered because the practical work supports its visual idea.